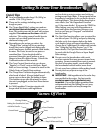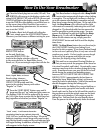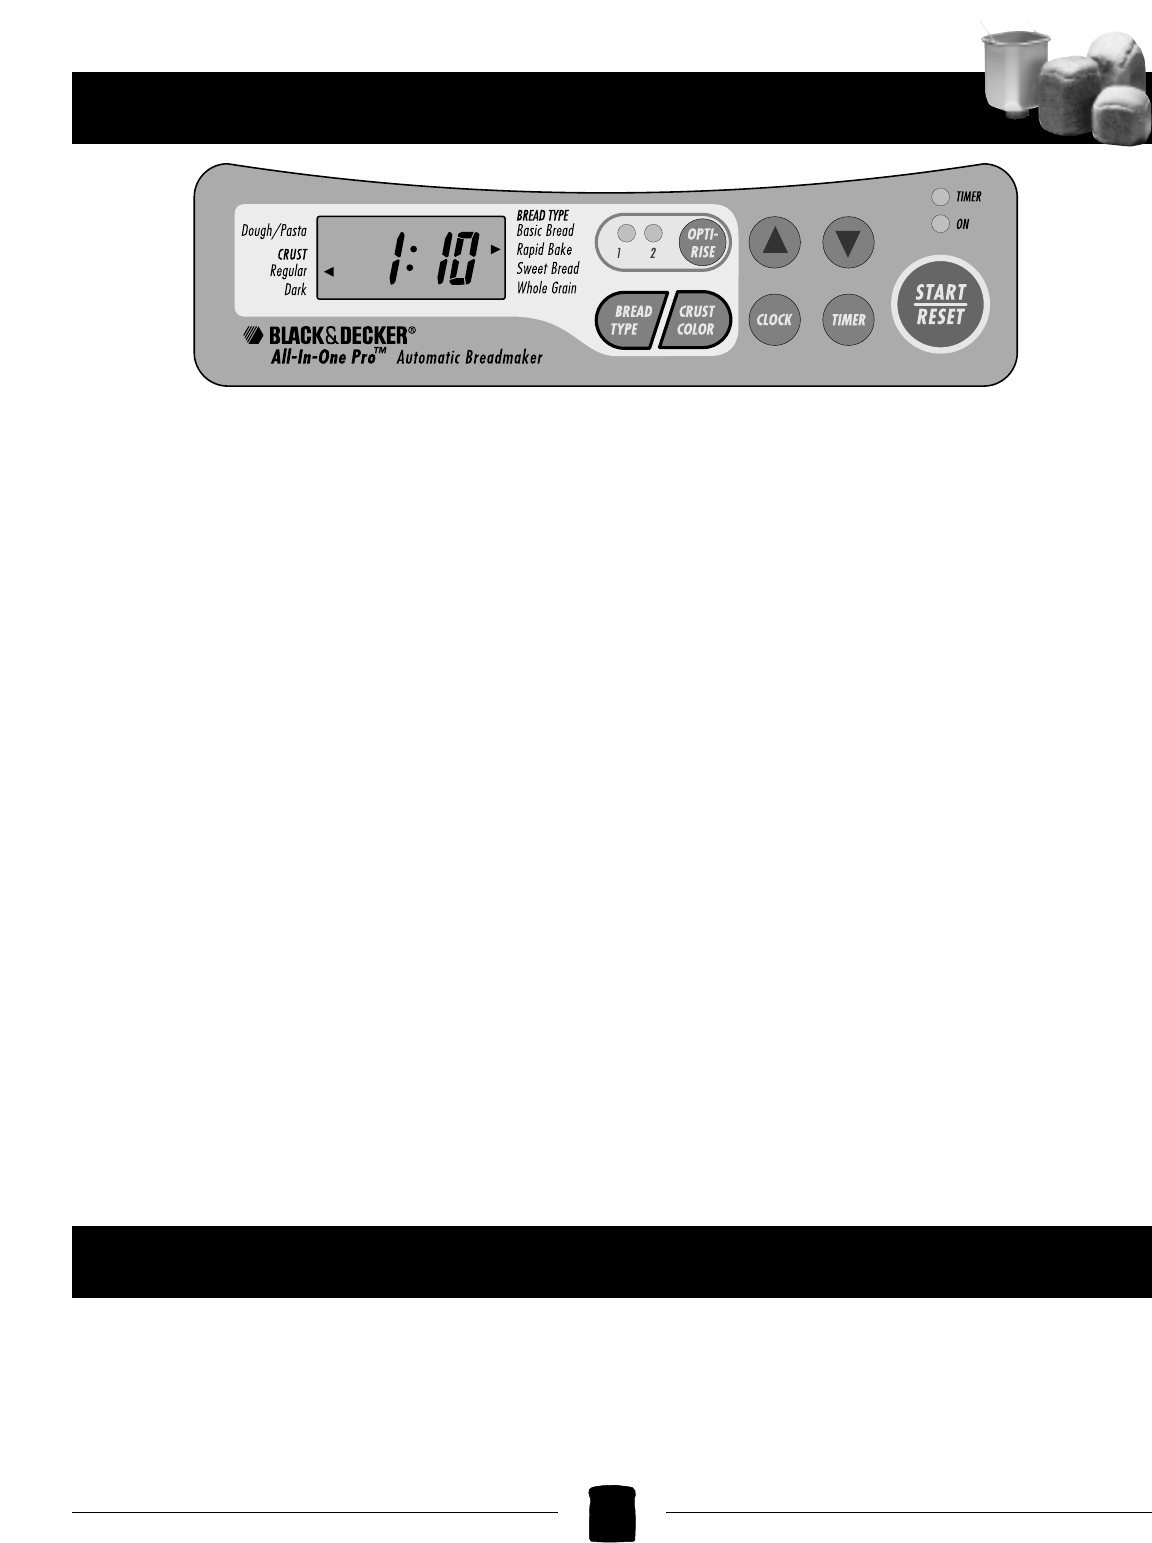
NOTE: When using the touch pad control, be sure to
press the pad until you hear a beep.
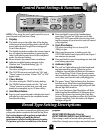
1. Display
● The black arrow at the right side of the display
indicates your bread setting choice; the left side
arrow indicates the Dough/Pasta setting and
Crust Color choices.
● The digital clock shows either the current time of
day, or, when the breadmaker is operating, the
time it will take for your bread to be completed
under the selected setting.
● Shows minute-by-minute time countdown.
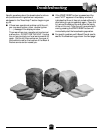
● Indicates troubleshooting message in the
Window (see “Troubleshooting” pg. 11)
2. Clock Button
Use when setting the current time of day.
● The CLOCK button is used with the “Up” and
“Down” arrows to set the 12 hour “AM” or “PM”
digital clock.
3. Timer Button
Use when setting the TIMER to delay baking.
● The TIMER button is used with the “Up” and
“Down” arrows to set the time you wish your
bread to be complete (up to 13-hour delay).
4. Start/Reset Button
● Press to start operation and to display the time it
will take for your bread to be completed under
the selected setting.
● Press and hold to cancel the breadmaking
operation. The red “on” light goes out & unit
beeps (DO NOT press when you are just check-
ing the progress of your bread or you will cancel
your program).
5. Opti-Rise Button
Use when extending the rise time of 2 lb
(900 g) recipes.
● When unit beeps prior to baking cycle, the
OPTI-RISE button can be pressed to add up to 2
ten-minute rise periods.
● Press and hold to cancel remaining rise time and
start baking operation.
6. Indicator Lights
● The red “on” light indicates that the breadmak-
ing operation has started. When the cycle is
complete, the red light will flash for 60 minutes
in its “Keep Warm” cycle. If you do not remove
the bread after 60 minutes, it will simply remain
on to show you that the unit is still plugged in.
● The green “timer” light indicates that the timer
function is on. When the actual breadmaking
operation begins, the green light will go off, and
the red light will come on.
● The 1st or 2nd green Opti-Rise lights will flash
indicating that an additional 10 minutes of rise
time can be chosen by pressing the Opti-Rise
button. The light remains on when the Opti-Rise
period is selected. Once the bake cycle begins,
the light will go off.
Control Panel Settings & Functions
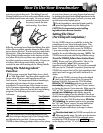
Bread Type Setting Descriptions
NOTE: The number in parentheses following each
setting description represents the total baking time.
Each setting begins with a preheat period which
delays the mixing cycle until the desired
temperature is reached within the oven chamber.
The preheat cycle does not add time to the Bread
program.
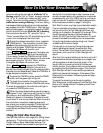
BASIC BREAD /Regular Crust or
BASIC BREAD /Dark Crust (3:50 hours)
This setting is used for breads which primarily use
white flour, though some recipes may include small
6


