


6
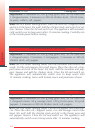
Read the instructions and carefully fol-
low the operating method.
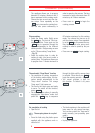
Unpack the appliance
• Remove the appliance from the packa-
ging and unpack all the accessories.
• Open the lid by pressing the open but-
ton located on the handle.
• Remove all the printed documents and
the accessories.
• Remove the nonstick bowl.
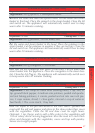
• Clean the metal parts of the lid and the
container with a sponge and liquid
soap. Fit the steam shield onto its fixing
axis - Fig. 1. Wipe the outside of the
appliance with a damp cloth.
• Dry off carefully.
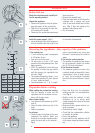
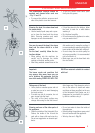
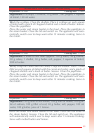
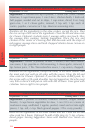
1) For cooking rice.
• 1 level measuring cupful corresponds
to 150 grams of rice.
• Pour the rice into the bowl.
• Fill with water up to the “CUP” mark
printed in the corresponding bowl. (See
table opposite).
• NOTE : the graduation in litres tells you
the quantity of water that you should
add after pouring the ingredients into
the bowl.- Fig.3
• The maximum quantity of water + rice
should not exceed the 10 mark. (shown
in “cups” inside the bowl).
• Recommendation: for 1 to 2 people,
pour in one measuring cup of rice and
then add 1 measuring cup and a half of
water.
2) For the slow cooking function.
• The quantity of ingredients (see recipes
for the measures) should not exceed
the 10 CUP mark in the bowl.
3) For the steam function.
• The maximum quantity of water in the
container should not exceed the 6 mark
(representing 2 litres of water) shown
in “cups” on the container. Exceeding
this level will cause overflows in opera-
tion.
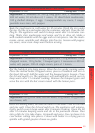
Before first use
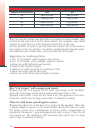
Measuring the ingredients - Max capacity of the container
▲
2
1
3
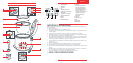
Install the spoon support - Fig. 2
• Insert the plastic hook of the support in
the hole located under the hinge of the
lid, and slide it downwards.
▲▲
White
Level
rice Cup
of
Pers.
water
300 g 2 2 2 à 4
600 g 4 4 4 à 8
900 g 6 6 6 à 12
1200 g 8 8 8 à 16
1500 g 10 10 10 à 20
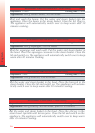
PREPARATION
When cooking rice or when slow cooking:
• Pour the quantity of water and the
ingredients into the container in accor-
dance with chosen recipe.
When steam cooking:
• Pour water into the container up to CUP
mark 6.
• Place the steam basket on top of the
bowl.
• Add the ingredients.
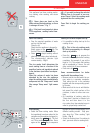
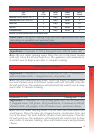
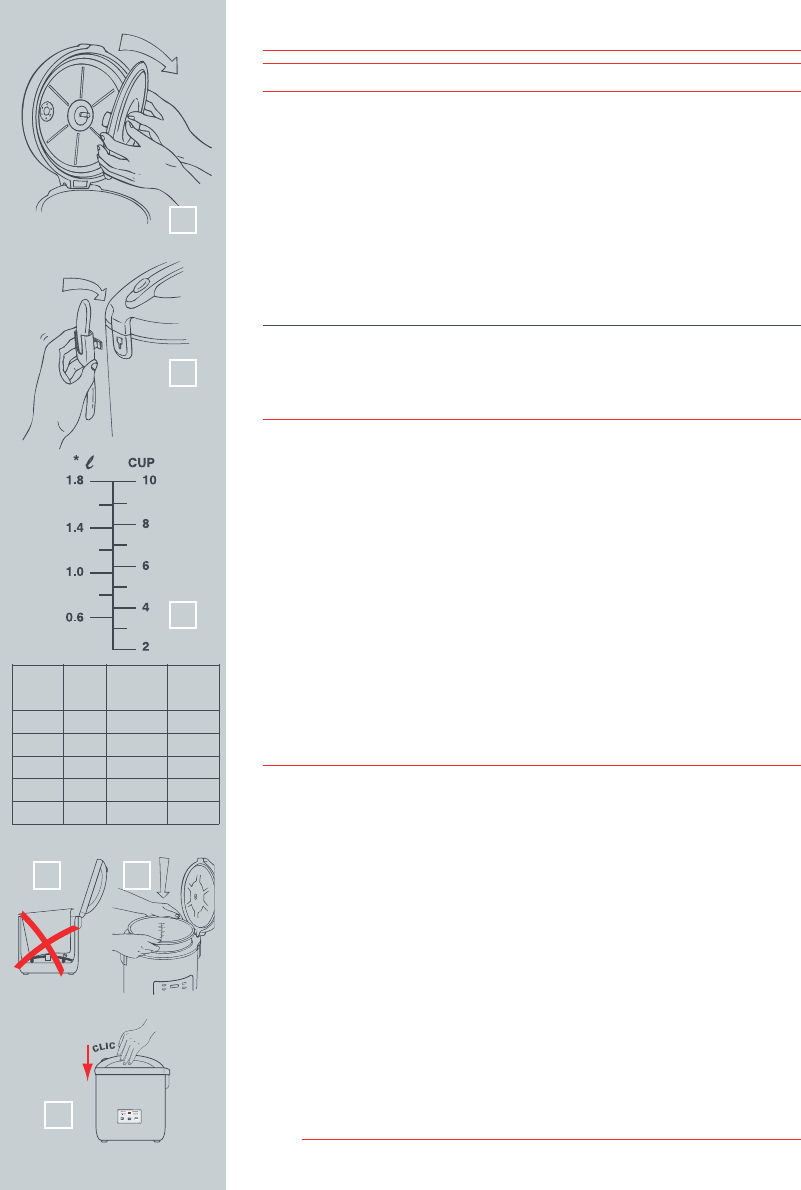
For all uses:
• Carefully wipe the outside of the bowl
(especially the bottom). Make sure
that there is no foreign residues under-
neath the bowl and on the hotplate -
Fig. 4
• Place the bowl into the appliance,
making sure that it is correctly positio-
ned - Fig. 5
• Slightly rotate the container in both
directions, so as to ensure good
contact between the bottom of the bowl
and the hotplate.
• Make sure that the steam shield is cor-
rectly in position.
• Close and lock the lid - Fig. 6
• Check that the condensation collector
is correctly in position.
• Plug in the appliance.
• Do not switch on the appliance until all
of the above stages have been comple-
ted.
4 5
▲ ▲
Preparation before cooking
6