GNS 530(A) Pilot’s Guide and Reference
190-00181-00 Rev. E
7-20
SECTION 7
WPT PAGES
6) The cursor moves to the distance (DIS) field.
Use the small and large right knobs to enter
the distance from the reference waypoint to
the new user waypoint. Press the ENT Key to
accept the selected distance.
7) Turn the large right knob to highlight ‘Create?’
and press the ENT Key.
8) Press the small right knob to remove the
flashing cursor.
NOTE: The GNS 530 allows the pilot to create
a new user waypoint at a defined radial and
distance from the present position. To reference
the present position, follow the preceding steps,
but press the CLR Key in Step 4. ‘P.POS’ appears
in the reference waypoint (REF WPT) field to
indicate that radial and distance information
references the present position. The second
reference waypoint field (REF WPT) is a temporary
reference only, not a reference that is stored with
the user waypoint. By default, this field displays
a radial from the nearest VOR. However, the pilot
can select any waypoint by identifier to use as
a reference in this field. The GNS 530 can store
user-defined waypoints which are generated
from other equipment in the panel. For example,
an EFIS equipped with joystick inputs can be used
to create user waypoints which (if the installation
supports this) automatically transfer to the GNS
530.
Creating User Waypoints from the Map Page
The Map Page and panning target pointer (Section 3.4,
Map Panning) provide a quick means of saving the present
position as a user-defined waypoint.
Capturing and saving the present position
as a user waypoint:
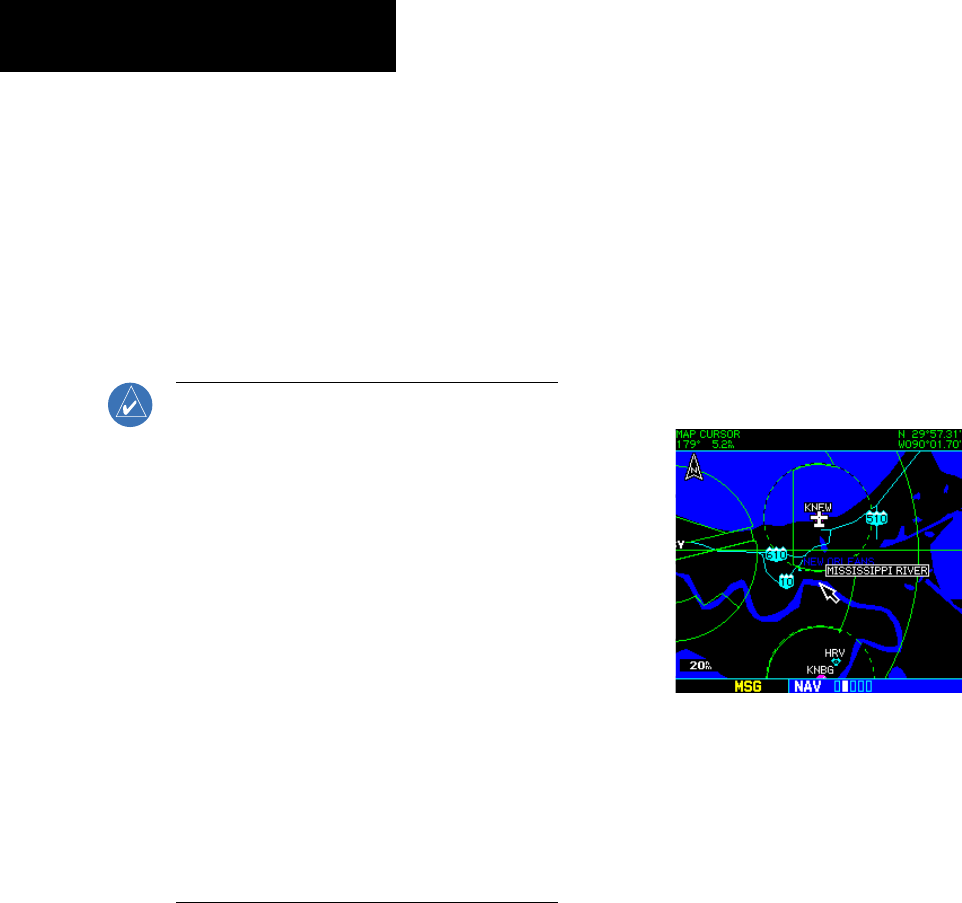
1) With the Map Page displayed, press the small
right knob to activate the panning function.
The target pointer appears at the present
position (Figure 7-41).
Figure 7-41 Activate Panning Function
2) Press the ENT Key to capture the position and
display the User Waypoint Page
3) A four-digit name is automatically assigned to
the waypoint. To change this name, turn the
large right knob to highlight the name field,
then use the small and large right knobs to
select a new name. Press the ENT Key to
accept the selected name.
4) The cursor moves to the ‘Create?’ action field.
Press the ENT Key to save the new waypoint.
