GNS 530(A) Pilot’s Guide and Reference
190-00181-00 Rev. E
APPENDIX A
DATA CARD USE
A-1
APPENDIX A: DATA CARD USE
The Jeppesen NavData card, and the Terrain Data
Card (if applicable) supplied with the GNS 530 can be
installed or removed when the GNS 530 is on or off. If the
NavData card is not present when the unit is turned on, a
‘No Jeppesen Aviation Database - Limited to user defined
waypoints’ message appears on the Database Confirmation
Page. If the NavData card is removed during operation,
a ‘Data card removed - Unit will restart in 30 seconds’
warning is displayed. A counter begins to count down
and, if the card is not replaced within 30 seconds, the
GNS 530 automatically re-initializes. Pressing the ENT
Key will manually re-initialize the unit.
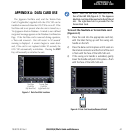
Figure A-1 Data Card Slot Locations
Terrain Data
Card Slot
(right-hand slot)
NavData
Card Slot
(left-hand slot)
NOTE: There are two data card slots on the
face of the GNS 530 (Figure A-1). The Jeppesen
NavData card should be inserted in the left-hand
slot. The right-hand slot is provided for the
Terrain Data Card.
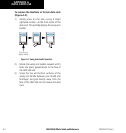
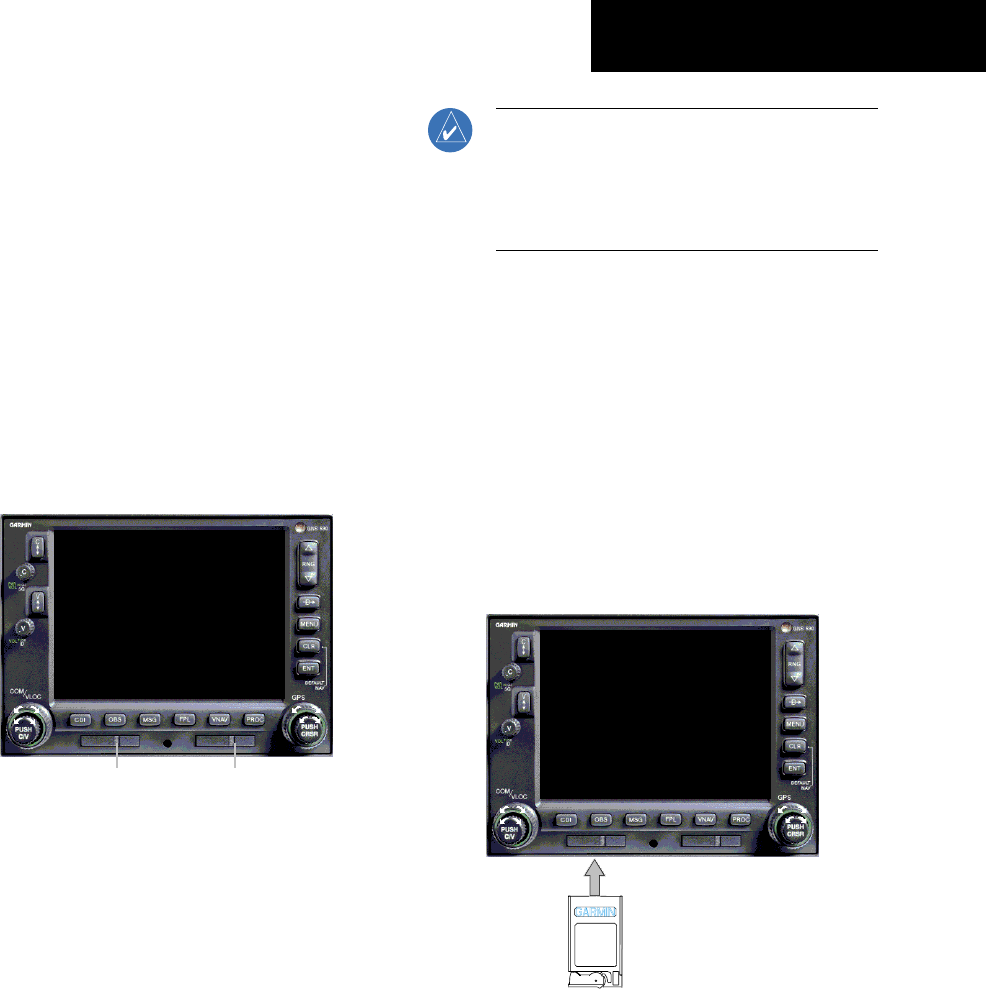
To insert the NavData or Terrain Data card
(Figure A-2):
1) Place the card into the appropriate card slot,
with the label facing up and the swing arm
handle on the left.
2) Press the data card into place until it seats on
the internal connector and the front of the card
is flush with the face of the GNS 530 unit.
3) If the swing arm handle is extended, gently
lower the handle and push it into place—flush
with the face of the GNS 530 unit.
Figure A-2 Data Card Insertion/Removal Detail


