GNS 530(A) Pilot’s Guide and Reference
190-00181-00 Rev. E
9-2
SECTION 9
VLOC RECEIVER
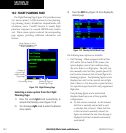
2) Turn the large left knob to select the desired
megahertz (MHz) value. For example, the ‘113’
portion of the frequency ‘113.00’.
3) Turn the small
left knob to select the desired
kilohertz (kHz) value. For example, the ‘.00’
portion of the frequency ‘113.00’.
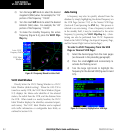
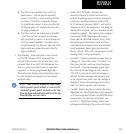
4) To make the standby frequency the active
frequency (Figure 9-3), press the VLOC Flip-
flop Key.
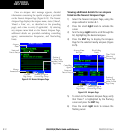
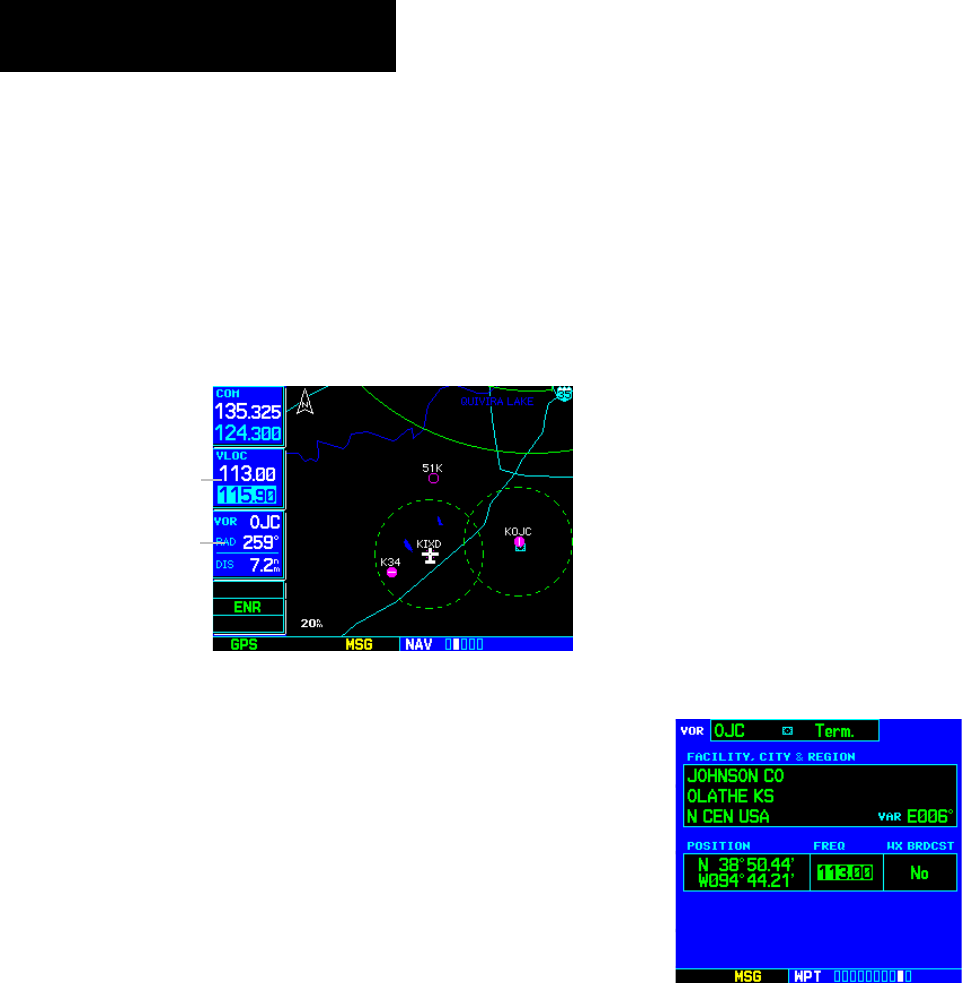
Figure 9-3 Frequency Moved to Active Field
Active VLOC
Frequency Field
VLOC Ident
Window
VLOC Ident Window
Directly below the VLOC Tuning Window is a VLOC
Ident Window (default setting). When the GNS 530 is
tuned to a nearby VOR, the VLOC Ident Window (Figure
9-3) displays the Morse code identifier of the selected
station, the radial from the VOR, and the distance from
the VOR. When tuned to a nearby localizer, the VLOC
Ident Window displays the identifier, associated airport,
and runway. The VLOC Ident Window can be replaced
with traffic information or configurable data fields, as
outlined in Section 10.4.
Auto-Tuning
A frequency may also be quickly selected from the
database by simply highlighting the desired frequency on
the VOR Page (Section 7.10) or the Nearest VOR Page
(Section 8.5) and pressing the ENT Key. This process is
referred to as auto-tuning. Once a frequency is selected
in the standby field, it may be transferred to the active
frequency by pressing the VLOC Flip-flop Key. (Auto-
tuning can also be performed from VLOC frequencies
listed on the NAV/COM Page, the Airport Frequency Page,
and the Nearest Flight Service Station Page.)
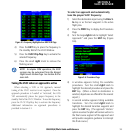
To select a VLOC frequency from the VOR
Page or Nearest VOR Page:
1) Select the desired page from the main pages
(as discussed in the preceding paragraph).
2) Press the small right knob momentarily to
activate the flashing cursor
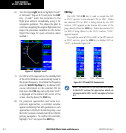
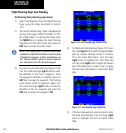
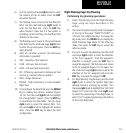
3) Turn the large right knob to highlight the
frequency for the desired VOR (Figures 9-4 and
9-5).
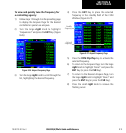
Figure 9-4 Frequency Highlighted on VOR Page


