


67
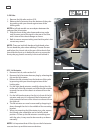
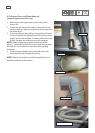
9.20 Yoke
1. Remove the lid, refer section 9.19.
2. Release the lid actuator from the bottom of the yoke
by pushing with your thumb against one of the
locking tabs.
NOTE: In tall tub models use an adaptor between the
yoke and the lid actuator.
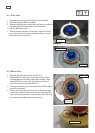
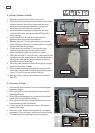
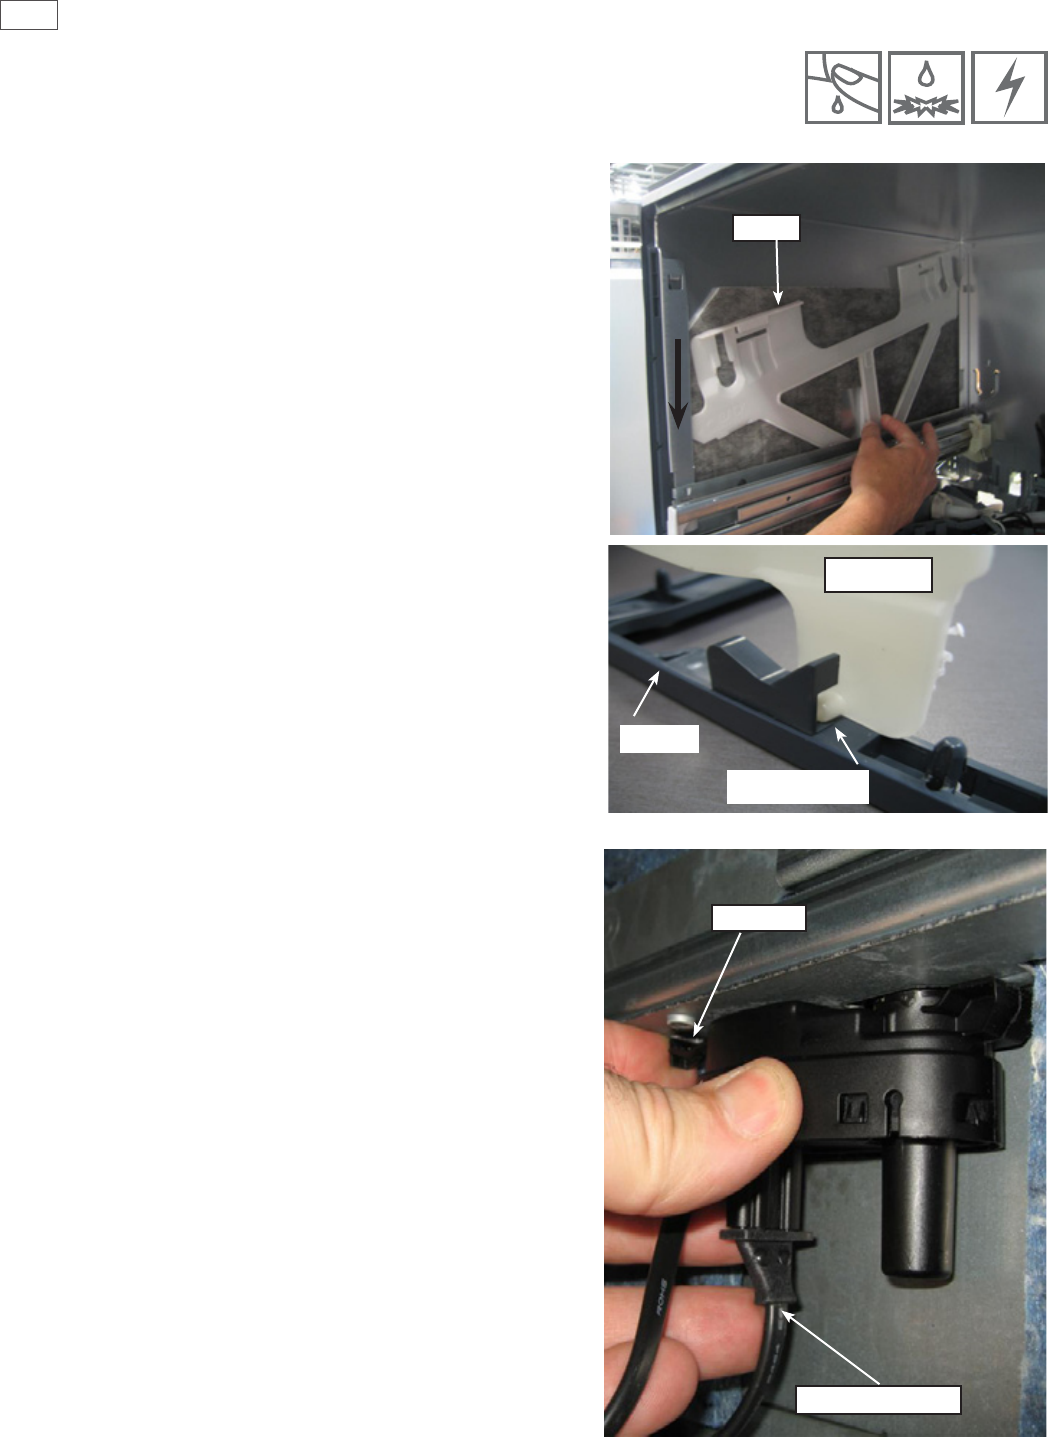
3. Slide the front of the yoke downwards at an angle
until it moves out of the track in the rear of the trim,
and is clear of the chassis ange as shown.
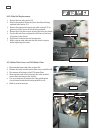
4. Ret in reverse manner taking care that the yoke is the
correct way round.
NOTE: There are both left hand and right hand yokes.
Do not bend the yoke when retting it. Locate the rear
end below the chassis tab at the rear of the chassis rst,
then slide the front up in behind the trim to ensure the
front yoke peg locates correctly in the track behind it.
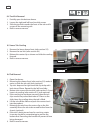
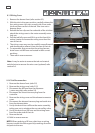
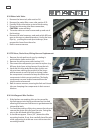
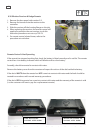
9.21 Lid Actuator
1. Remove the tub, refer section 9.6.
2. Remove the lid actuator harness plug by releasing the
clip on the lid actuator.
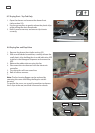
3. Release the lid actuator from the bottom of the yoke
by pressing with your thumb against one of the
locking tabs.
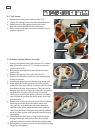
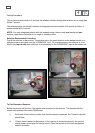
4. For the right hand actuator, carefully release the clip
at the rear of the lid actuator and slide the lid actuator
towards the rear of the chassis to release it from the
slide rail.
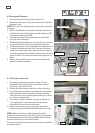
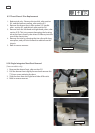
5. For the left hand actuator, the clip is in front of the lid
actuator, and once it is released, the lid actuator will
slide towards the front of the chassis to release it from
the slide rail.
6. The lid actuator can now be removed by dropping it
down through the slot in the middle of the mounting
bracket.
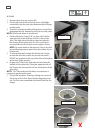
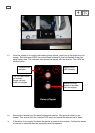
7. When reconnecting the lid actuator to a yoke, ensure
the lid and yoke assemblies are in the fully raised
position. To line up the lid actuator connecting arm
with the yoke, it may need to be wound up or down
manually.
NOTE: It is important that all the clips on the lid actuator
case are done up and that none are broken.
Clip
Wiring Harness
Yoke
D
D
D
Trim
Trim Channel
Yoke