36
Models 345, 346, 349, 355Operating P rocedures
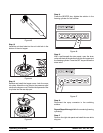
Step 6
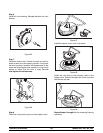
Raise the prime plug. Place an empty pail under the
door spout. When cleaning solution begins to exit the
relief port opening in the freezer door, lower the prime
plug. Press the OFF key. Open the draw valve and
relieve all pressure from thefreezing cylinder. Remove
the hopper cover. Remove the mix feed tube and take
it to the sink for further cleaning. Close the prime plug.
Step 7
Prepare two gallons (7.6 liters) of an approved
cleaning solution (example: Kay-5
R). USE WARM
W ATER AND FOLLOW THE MANUFACTURER’S
SPECIFICATIONS.
Step 8
Slowly pour two gallons (7.6 liters) of cleaning solution
into the mix hopper until the hopper becomes 1/4 full
of cleaning solution.
Step 9
With the brushes provided, brush-clean the mix
hopper, mix inlet hole, mix level float switch, product
fitting, and CO
2
fitting. Use caution when cleaning the
float switch. Failure to do so will cause damage to the
component.
Step 10
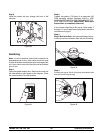
Clean and install the hopper cover. Lock the cover into
place. Attach the vinyl tube to the pressure relief valve
on the hopper cover. Position the open end of the vinyl
tube into the rear drip pan.
Step 11
Press the BEATER key to agitate the solution in the
freezing cylinder.
Step 12
With a pail beneath the door spout, open the draw
valve and drainall the solutionfrom the mix hopper and
the freezing cylinder. Press the OFF key and close the
draw valve.
Step 13
Disconnect the syrup c onnector.
RepeatSteps 2through13for the remainingfreezing
cylinder(s).
Disassembly
Step 1
Be sure the control switch is in the OFF position. Open
the draw valves to make sure all pressure has been
relieved.
Step 2
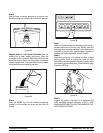
Raise the prime plug. Leave the bleed port open when
removing the freezer door to insure that all pressure is
relieved from the freezing cylinder.
Step 3
Remove the following parts from the freezer and take
them to the sink for brush-cleaning: handscrews,
freezer doors, beater assemblies and scraper blades,
drive shafts, hopper covers, front drip tray, splash
shield.
Brush Cleaning
Step 1
Prepare a sink with an approved cleaning solution.
USE WARM WATER AND FOLLOW THE
MANUFACTURER’S SPECIFICATIONS (example:
Kay-5
R). IMPORTANT: Follow the label directions.
Too S TRONG of a solution can cause parts damage,
while too MILD of a solution will not provide adequate
cleaning. Make sure all brushes provided with the
freezer are a vailable for brush cleaning.
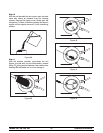
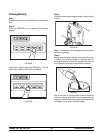
Step 2
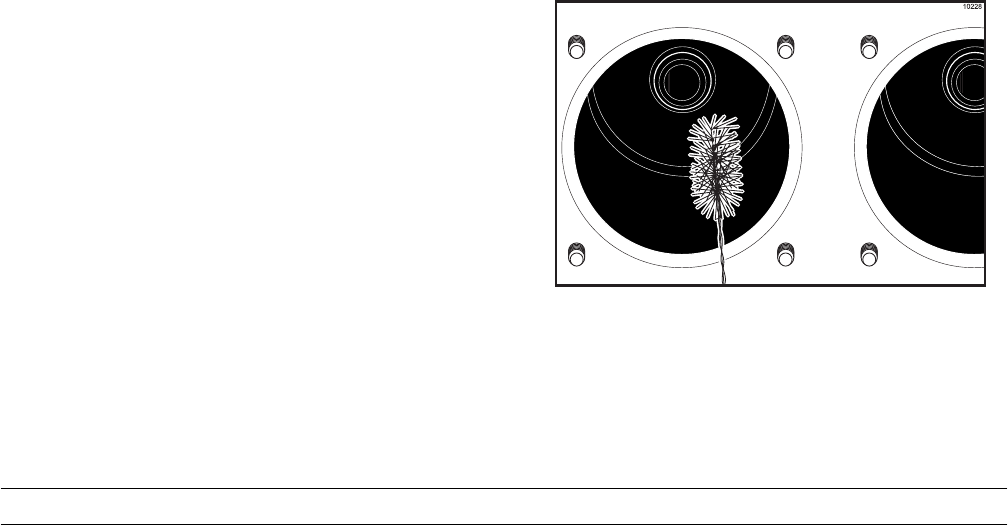
Return to the freezer with a small amount of cleaning
solution. With a single service towel, wipe clean the
bearing surface. Brush-clean the rear shell bearings at
the back of the freezing cylinders with the black bristle
brush.
Figure 58
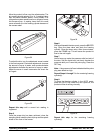
Step 3
Remove the rear drip pan. (Does not apply to the
Model 349.)


