C H A P T E R 3
Configuringyour room system’ssoftware
16
3. If you’re configuring the software for asmall room without the table microphone upgrade kit,
select Usethecamera microphone and then click OK.
OR
If you’re configuring thesoftware for a small room with the table microphoneupgrade kit, a
medium room or a large room, select Use the table microphone and then click OK.
I M P OR T A N T
o
Youare unable to change this settinglater, so ensure that you select the correct
option.
o
If you originally configured the software for asmall room without the table microphone
upgrade kit and subsequently want to configure it for a small room with the table
microphone upgrade kit, you must set the room system to its factory defaults (see
Resetting the room system to factory defaults on page 65).
A dialoguebox prompting you to check the display settings appears.
4. Click OK.
Control Panel opens and a second dialogue box appears.
5. Configure the displays as follows:
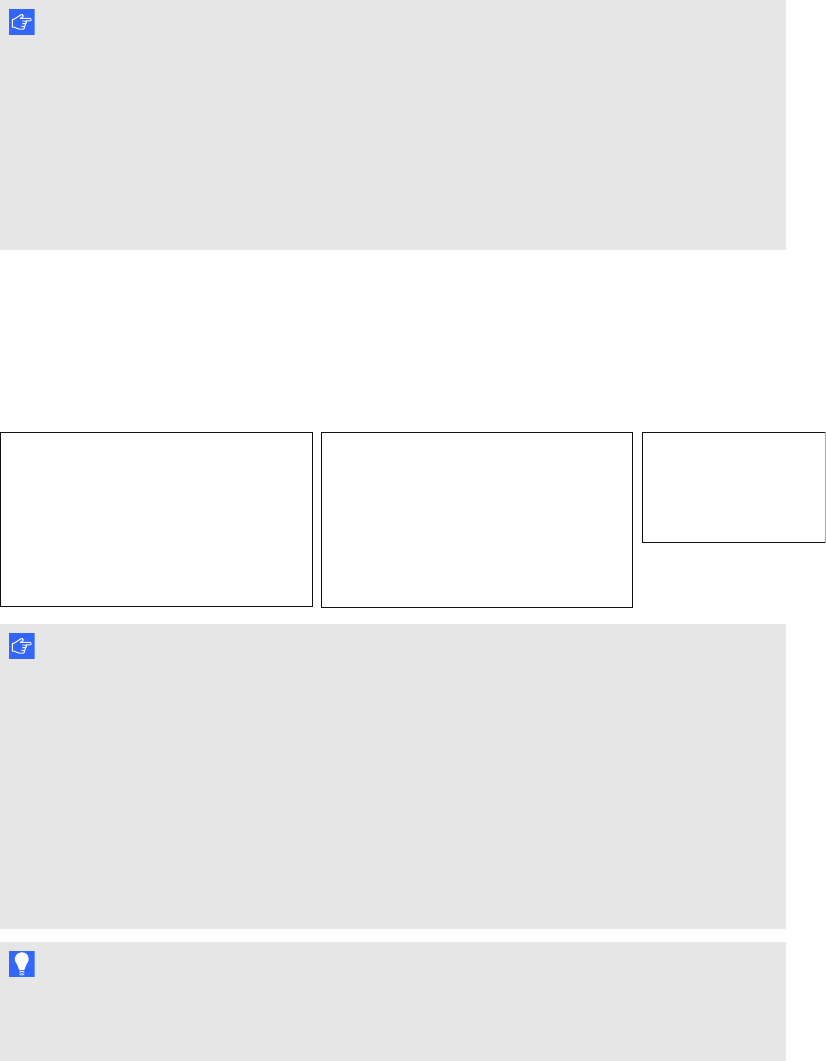
ConsoleLeft interactive flat panel Right interactive flat panel
(large rooms only)
1366 × 768
1920 × 1080 (1080p)1920 × 1080 (1080p)
I M P OR T A N T
o
Align the top of all displays as shown in the above diagram.
o
Set theconsole as the main display by clicking its thumbnail and then selecting
Makethismy main display.
o
Positionthe console to the right of theinteractive flat panels as shown in the above
diagram.
o
Youare unable to change these settings later, so ensure that you configure the
displays correctly.
T I P
To determinewhich display is which, press Identify. Each display’s number appears
briefly on the display.
