C H A P T E R 3
Configuringyour room system’ssoftware
19
3. Foreach interactive flat panel, do the following:
a. Select the interactive flat panel from the list and then click Next.
b. Select Product is being set up for the first time and then click Next.
The calibration screen appears on theselected interactive flat panel.
N OT E
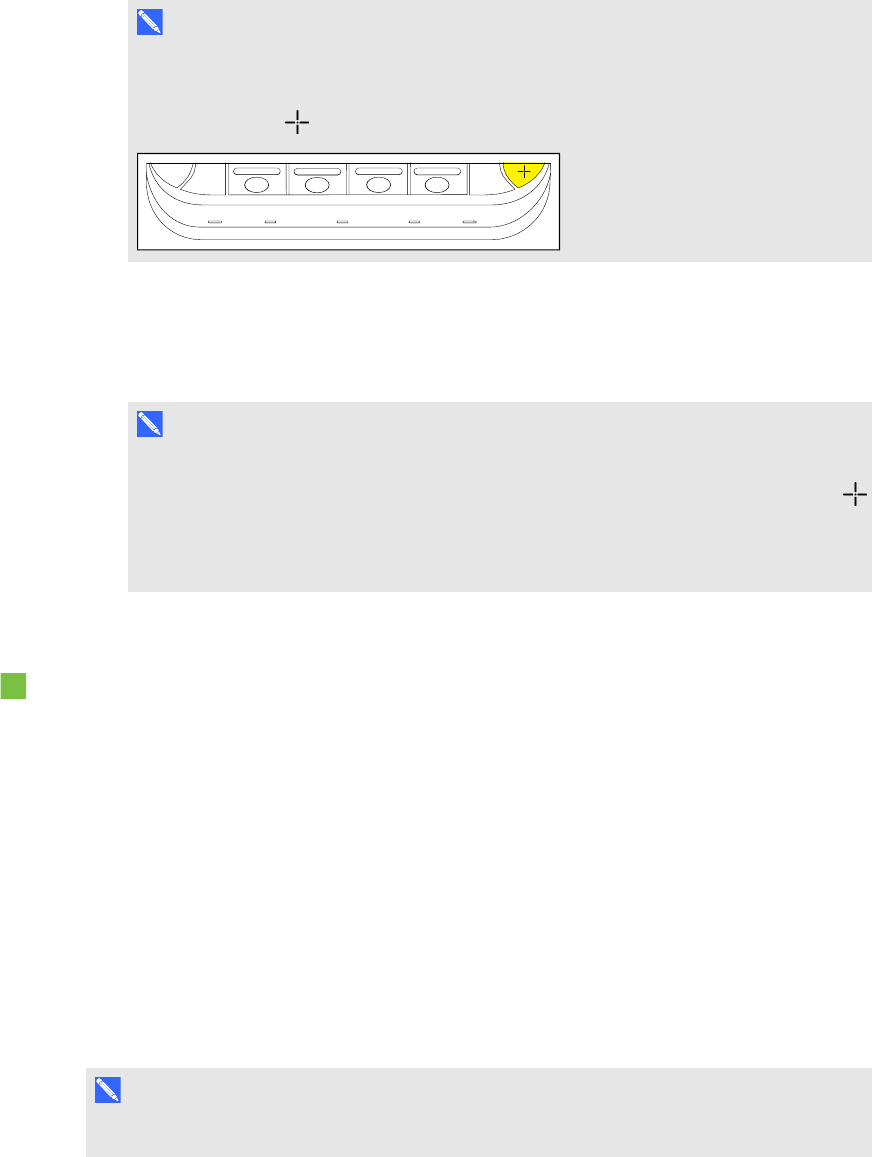
If the calibration screen doesn’t appear on theselected interactive flat panel, move it
to the selected interactive flat panel by pressing the spacebaron thekeyboard or the
Orientate button on theinteractive flat panel’s colourselect module.
c. Calibrate the interactive flat panel following theon-screen instructions.
The orientation screen appears on the selected interactive flat panel.
d. Orientate theinteractive flat panel following theon-screen instructions.
N OT E S
o
If you touch a target in either the calibration screen or the orientationscreen but
aren’t advancedto the next target, press the spacebaror the Orientatebutton
to move to the next interactive flat panel and try again.
o
Youdon’t needto calibrate or orientate the console.
4. Continue to the next procedure.
To optimise the camera and complete the software configuration
1. If SMARTSettings isn’t open from the previous procedure, click OEM Settings and then
click SMART Board Settings.
SMARTSettings appears.
2. Click SMARTHardware Settings.
3. Click the camera icon and then select Hardware Info & Settings from the drop-down list.
4. Click Preview.
The SMART Camera window opens.
5. Set the pan, tilt and zoom as appropriate for themeeting room’s size, select the mains
power linefrequency for yourcountry (50 Hz or 60 Hz), and then click OK.
N OT E
Digital panand tilt options are available only when the camera is zoomed in.
