19XL CHILLER EQUALIZATION WITH PUMPOUT
UNIT — The following procedure describes how to equal-
ize refrigerant pressure on an isolated 19XL chiller using the
pumpout unit.
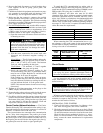
1. Access the TERMINATE LOCKOUT mode in the Con-
trol Test.
2. Turn on the chilled water and condenser water pumps to
prevent possible freezing.
3. Open valve 4 on the pumpout unit and open valves 1a
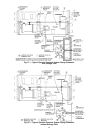
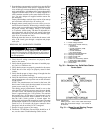
and 1b on the chiller cooler and condenser, Fig. 27 and
28. Slowly open valve 2 on the pumpout unit to equalize
the pressure. This process will take approximately
15 minutes.
4. Once the pressures have equalized, the discharge isola-
tion valve, cooler isolation valve, optional hot gas bypass
isolation valve, and the refrigerant isolation valve can be
opened. Close valves 1a and 1b, and all pumpout unit
valves.
Whenever turning the discharge isolation valve, be
sure to reattach the valve locking device. This will
prevent the valve from opening or closing during serv-
ice work or during chiller operation.
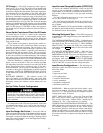
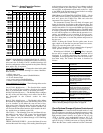
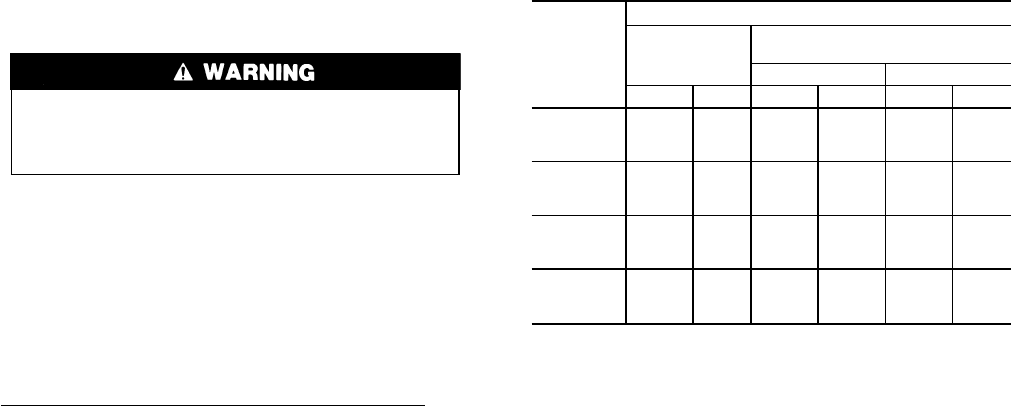
The full refrigerant charge on the 19XL will vary with
chiller components and design conditions, indicated on the
job data specifications.An approximate charge may be found
by adding the condenser charge to the cooler charge listed in
Table 8.
Always operate the condenser and chilled water pumps
during charging operations to prevent freeze-ups. Use the
Control Test Terminate Lockout to monitor conditions and
start the pumps.
If the chiller has been shipped with a holding charge, the
refrigerant will be added through the refrigerant charging valve
(Fig. 27 and 28, valve 7) or to the pumpout charging con-
nection. First evacuate the nitrogen holding charge from the
vessels. Charge the refrigerant as a gas until the system pres-
sure exceeds 68 psig (469 kPa); [35 psig (141 kPa)]. After
the chiller is beyond this pressure the refrigerant should be
charged as a liquid until all of the recommended refrigerant
charge has been added.
TRIMMING REFRIGERANT CHARGE — The 19XL is
shipped with the correct charge for the design duty of the
chiller. Trimming the charge can be best accomplished when
design load is available. To trim, check the temperature
difference between leaving chilled water temperature and
cooler refrigerant temperature at full load design conditions.
If necessary, add or remove refrigerant to bring the tempera-
ture difference to design conditions or minimum differential.
Table 8 — Refrigerant Charges*
COOLER
SIZE
19XL TOTAL REFRIGERANT CHARGE
Design I
Chiller
Design II
Chiller
HCFC-22 HFC-134a
lb kg lb kg lb kg
40 1420 640 1100 499 900 409
41 1490 680 1150 522 950 431
42 1550 700 1250 568 1000 454
43 1600 730 1350 613 1050 477
50 1850 840 1500 681 1100 499
51 1900 860 1600 726 1200 545
52 1980 900 1750 795 1300 590
53 2050 930 1850 840 1350 613
55 — — 1900 863 1550 704
56 — — 2200 999 1650 749
57 — — 2500 1135 1750 795
58 — — 2700 1226 1900 863
*Design Ichillers useHCFC-22. Design IIchillers useeither HCFC-22
or HFC-134a.
NOTES:
1. The size of the cooler determines refrigerant charge for the entire
chiller.
2. Design I chillers have float chambers.
3. Design II chillers have linear floats.
54


