


111
7
7
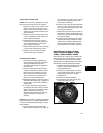
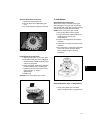
Remove Starter Drive and Clutch
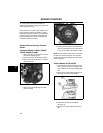
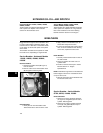
1. Remove E-ring (A, Figure 20).
2. Remove three screws (B) holding gear
cover.
3. Lift clutch assembly and gears from shaft.
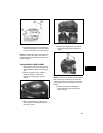
Figure 21
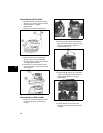
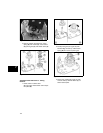
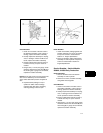
Install Starter Drive and Clutch
1. Slip pinion (A, Figure 21) on motor shaft.
2. Add approximately 3/4 ounce of Briggs &
Stratton Grease #100059 under drive gear
end and on gear teeth.
3. Using new gasket, install clutch assembly
to shaft and align pinion with drive gear.
4. Install three screws and torque to values
listed in Section 12 - Engine
Specifications.
5. Install E-ring.
NOTICE: Do not oil the pinion gear or helix.
Figure 22
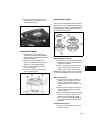
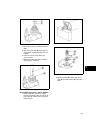
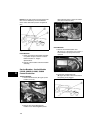
12 Volt Starters
Check Starter Drive and Clutch
When starter switch is activated, pinion gear
should engage the ring gear and crank engine.
The clutch should not slip during engine cranking
and pinion gear shouldn’t bind on the helix.
NOTE: Do not oil the pinion gear or helix.
1. Remove the starter from the engine.
2. Using a mild solvent, clean the drive and
clutch assembly, then dry with
compressed air.
3. Inspect for damaged parts and replace if
necessary.
4. Install starter on engine and test for proper
operation.
5. If the clutch slips or if the pinion gear binds
on the helix, replace the entire starter
drive assembly using the following
procedures.
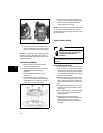
Figure 23
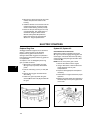
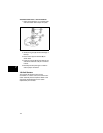
Disassemble Starter Drive - C-Ring Retainer
1. Using C-Ring Removal Tool #19522,
remove and discard old C-ring (Figure 23).