


78
4
4
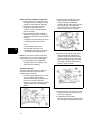
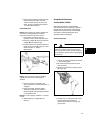
Remove Carburetor
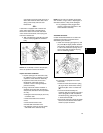
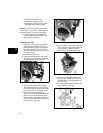
1. Disconnect wire(s) from the carburetor
solenoid. Two styles of solenoids have
been used (Figure 42).
Figure 42
2. Remove air cleaner assembly per
Section 1. Discard the gasket.
3. Move clamp and disconnect hose from
carburetor.
4. Remove two carburetor screws or nuts
while holding carburetor.
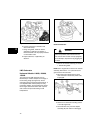
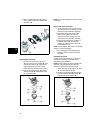
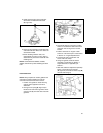
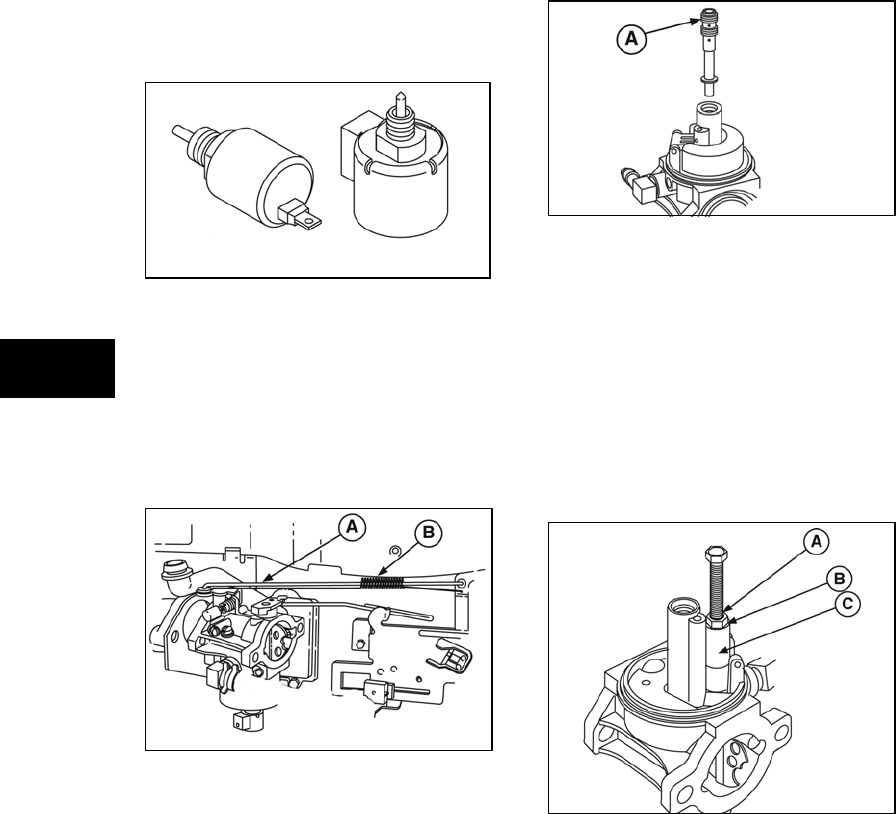
5. Carefully rotate carburetor to disconnect
throttle (A, Figure 43) and spring (B) and
the choke link during removal.
Figure 43
Disassemble Carburetor
1. Remove solenoid and solenoid washer.
Discard washer. Remove float bowl and
float bowl gasket from carburetor. Discard
gasket.
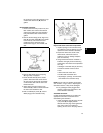
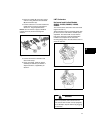
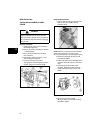
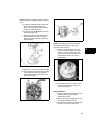
2. Using Carburetor Nozzle Screwdriver
#19280, remove the main carburetor
emulsion tube (A, Figure 44).
Figure 44
3. Remove float hinge pin, float, and inlet
needle. Discard the hinge pin and inlet
needle.
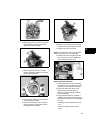
4. Screw a 1/4-20 tap into fuel inlet seat 3-4
turns and remove.
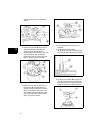
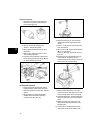
5. Place a hex nut (A, Figure 45) and washer
(B) on a 1/4-20 screw.
Place 1/4” drive 3/8” socket (C) over fuel
inlet seat.
6. Thread screw into tapped inlet seat until
screw bottoms. Thread nut down to
washer and continue turning nut until inlet
seat is free from carburetor body.
Figure 45
7. Remove idle mixture limiter cap, when
used, then remove idle mixture screw with
spring and idle speed screw with spring.
8. Rotate throttle shaft to closed position and
remove throttle valve screws and throttle
valve.
9. Remove throttle shaft, foam seal, and
throttle shaft seal from carburetor body.
Discard seals.
10. If carburetor is equipped with a plastic
choke shaft, rotate choke shaft to wide