


81
4
4
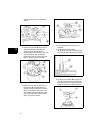
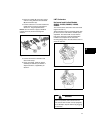
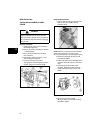
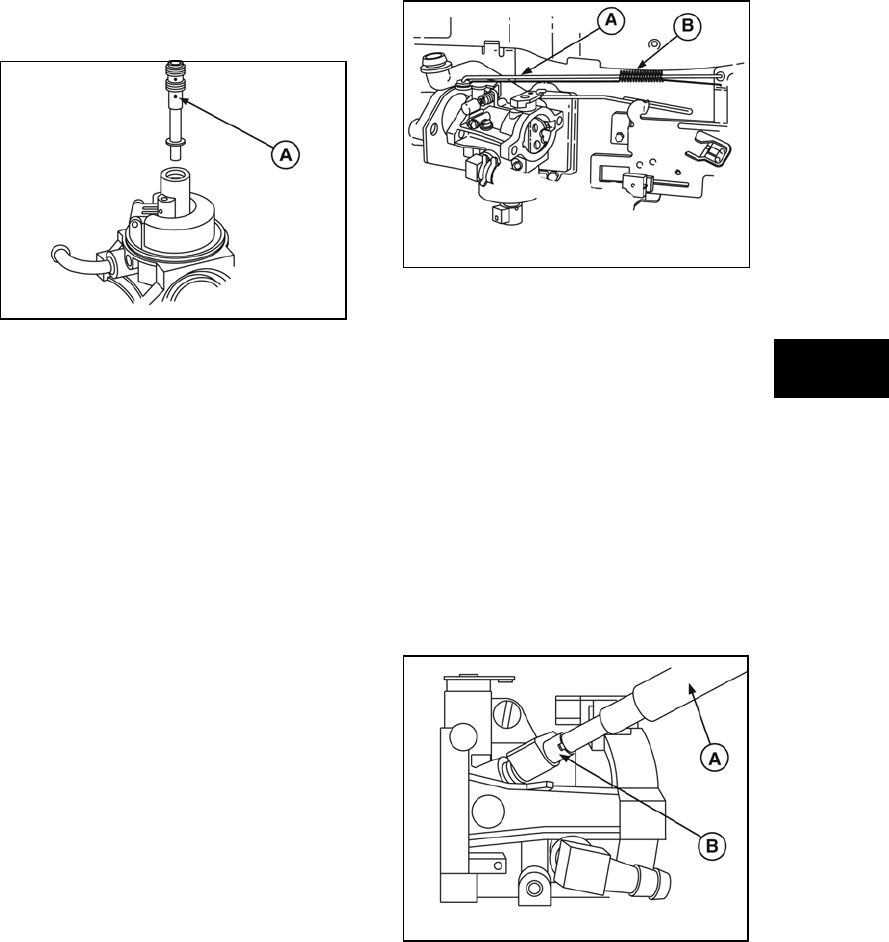
8. Install emulsion tube using Carburetor
Screwdriver #19280 until tube seats
(A, Figure 52).
Figure 52
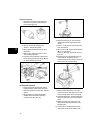
9. Place new bowl gasket on carburetor body
and install fuel bowl. Place new washer on
solenoid and install.
10. After installing emulsion tube, use
compressed air to blow out any chips or
debris that may have been loosened while
installing tube.
NOTE: On Model Series 280000, 310000,
330000, install main jet after installing emulsion
tube.
Install Carburetor
NOTE: Always replace air cleaner gaskets and
carburetor mounting gaskets any time the
carburetor has been removed for service.
1. Position new gasket on studs with long
edge of gasket opposite fuel inlet of
carburetor.
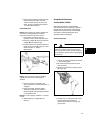
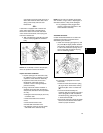
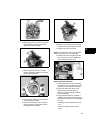
2. Hook governor spring (B, Figure 53) in
throttle lever hole without grommet. Hook
governor link (A) in throttle lever hole with
grommet.
Figure 53
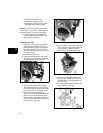
3. Hook choke link into outer hole of choke
shaft from underneath. Slide other end of
choke link into slot in governor control
bracket.
4. Position carburetor on engine. Install
screws or nuts and torque to values listed
in Section 12 - Engine Specifications.
5. Connect fuel hose to carburetor and
secure with hose clamp.
6. Using new gasket, install air cleaner
assembly to carburetor per Section 1.
Adjust carburetor, if applicable, per
Section 1.
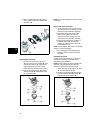
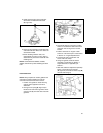
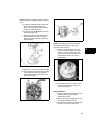
7. After final carburetor adjustment (last step
below), use Knockout Pin #19135
(A, Figure 54) to install new limiter cap (B)
with flat side facing up.
Figure 54