


53
3
3
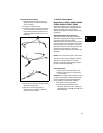
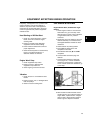
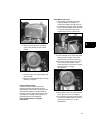
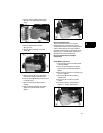
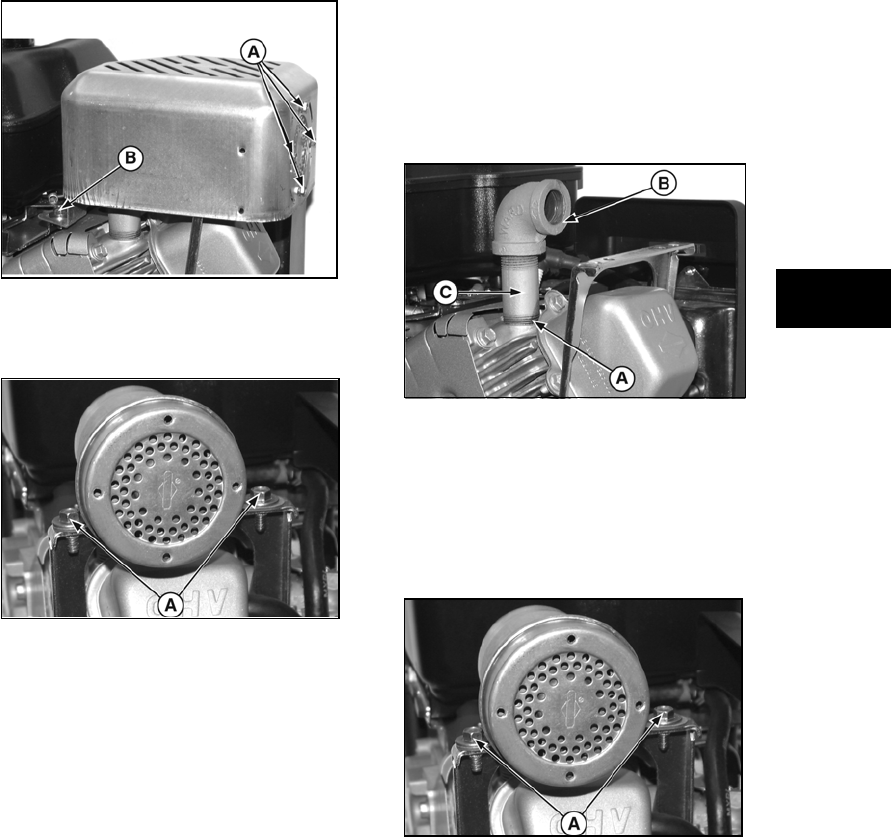
Figure 3
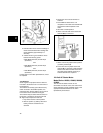
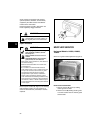
3. Remove screws (A, Figure 4) holding
upper muffler bracket to lower muffler
bracket.
Figure 4
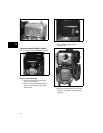
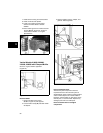
4. Unscrew muffler from exhaust elbow and
pipe assembly.
5. Remove and disassemble elbow and pipe
assembly, if required.
Inspect Exhaust System
All exhaust system components must be
inspected whenever the exhaust system is
disassembled. Check muffler mounting bracket
and/or muffler adapters for cracked welds or
breakage. Check muffler for split seams, loose
internal parts, or cracked welds. Replace any
damaged parts with new OEM parts.
Never reinstall broken or damaged
components.
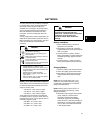
Install Muffler and Guard
1. Coat threads of pipe with Valve Guide
Lubricant #93963. Thread pipe into
cylinder head exhaust port (A, Figure 5).
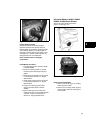
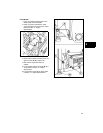
2. Coat exposed threads of elbow with Valve
Guide Lubricant #93963. Install elbow (B)
on pipe (C) and tighten securely with
outlet straight out from cylinder head.
Figure 5
3. Coat the threads of the muffler with Valve
Guide Lubricant # 93963, then thread
exhaust muffler into elbow until secure.
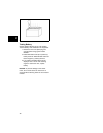
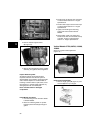
4. Place upper muffler bracket over muffler
and on lower muffler bracket. Install
screws (A, Figure 6) and torque to values
listed in Section 12 - Engine
Specifications.
Figure 6
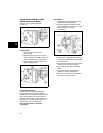
5. Place muffler guard over muffler and start
screw (A, Figure 7) but do not tighten.
6. Line up holes in guard and end of muffler
then start screws (B). Tighten all screws to
values listed in Section 12 - Engine
Specifications.