26
2
2
2) Check Carburetion
Before making a carburetion check, be sure the
fuel tank has an ample supply of fresh, clean
gasoline.
Be sure the shutoff valve, if equipped, is open
and fuel flows freely through the fuel line. If fuel
fails to flow or is slow, check for plugged fuel cap
vent, fuel line restriction or plugged fuel filter.
Be sure throttle and choke controls are properly
adjusted.
If engine cranks but will not start, remove and
inspect the spark plug.
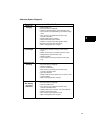
If plug is wet, look for:
• Over choking
• Excessively rich fuel mixture
• Water in fuel
• Float needle valve stuck open
• Plugged air cleaner
• Fouled spark plug
If plug is dry, look for:
• Leaking carburetor or intake manifold
gaskets
• Gummy or dirty carburetor, fuel filter, fuel
lines or fuel tank
• Float needle valve stuck closed
• Inoperative fuel pump (if equipped)
• Inoperative fuel shut off solenoid (if
equipped)
A simple check to determine if the fuel is getting
to the combustion chamber through the
carburetor is to remove the spark plug and pour
a small quantity of gasoline through the spark
plug hole. Replace the plug. If the engine fires a
few times and then stops, look for the same
conditions as for a dry plug.
Testing Fuel Shut Off Solenoid
The fuel shut off solenoid is controlled by the
equipment ignition switch. With the switch OFF,
the solenoid plunger closes, stopping the fuel
flow at the fixed main jet. With the switch in the
ON and START positions, the solenoid plunger
opens, allowing normal fuel flow. If operating
properly, the solenoid will click when the switch
is turned ON and OFF.
If solenoid does not click, the problem could be
the equipment wiring, engine wiring or the
solenoid. To determine which is the problem,
perform the following tests in the order shown.
Solenoid Plunger Test
NOTE: The solenoid requires a minimum of 9
Volts DC to function.
1. Remove the fuel shut off solenoid from the
carburetor.
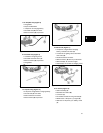
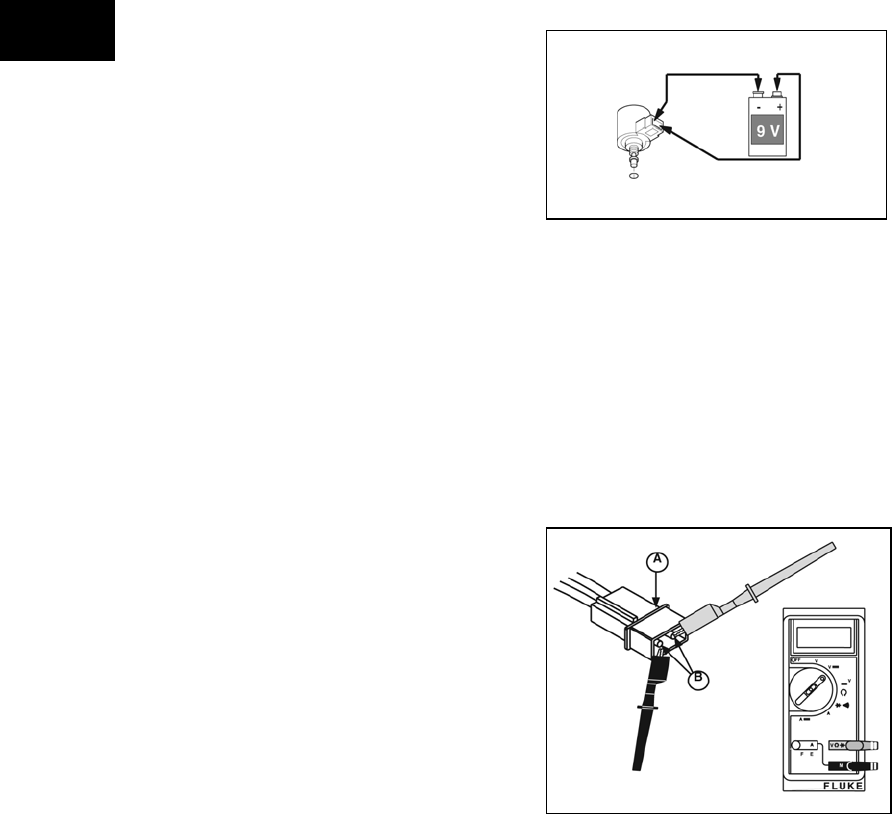
2. Place a jumper wire on either terminal of a
9 Volt battery and on one of the pins of the
solenoid connector.
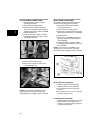
3. Place another jumper wire on the other pin
in the solenoid connector and on the other
terminal on the battery (Figure 3).
Figure 3
• Plunger should retract freely, or with very
light fingertip pressure.
• When battery connection is removed,
plunger should extend.
• Replace solenoid if plunger sticks or
does not move.
Solenoid Wiring Test
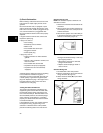
1. Set multimeter to DC Volts position.
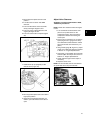
2. With key switch OFF, disconnect solenoid
wiring connector (A, Figure 4).
3. Attach meter test leads (B) to pins inside
wiring connector.
Figure 4


