


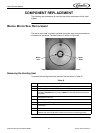


Viper Service Manual
Publication Number: 621360041TBSER - 58 - © 2010, IMI Cornelius Inc.
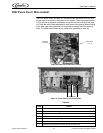
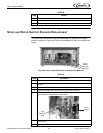
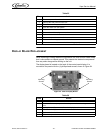
HOT GAS SOLENOID REPLACEMENT
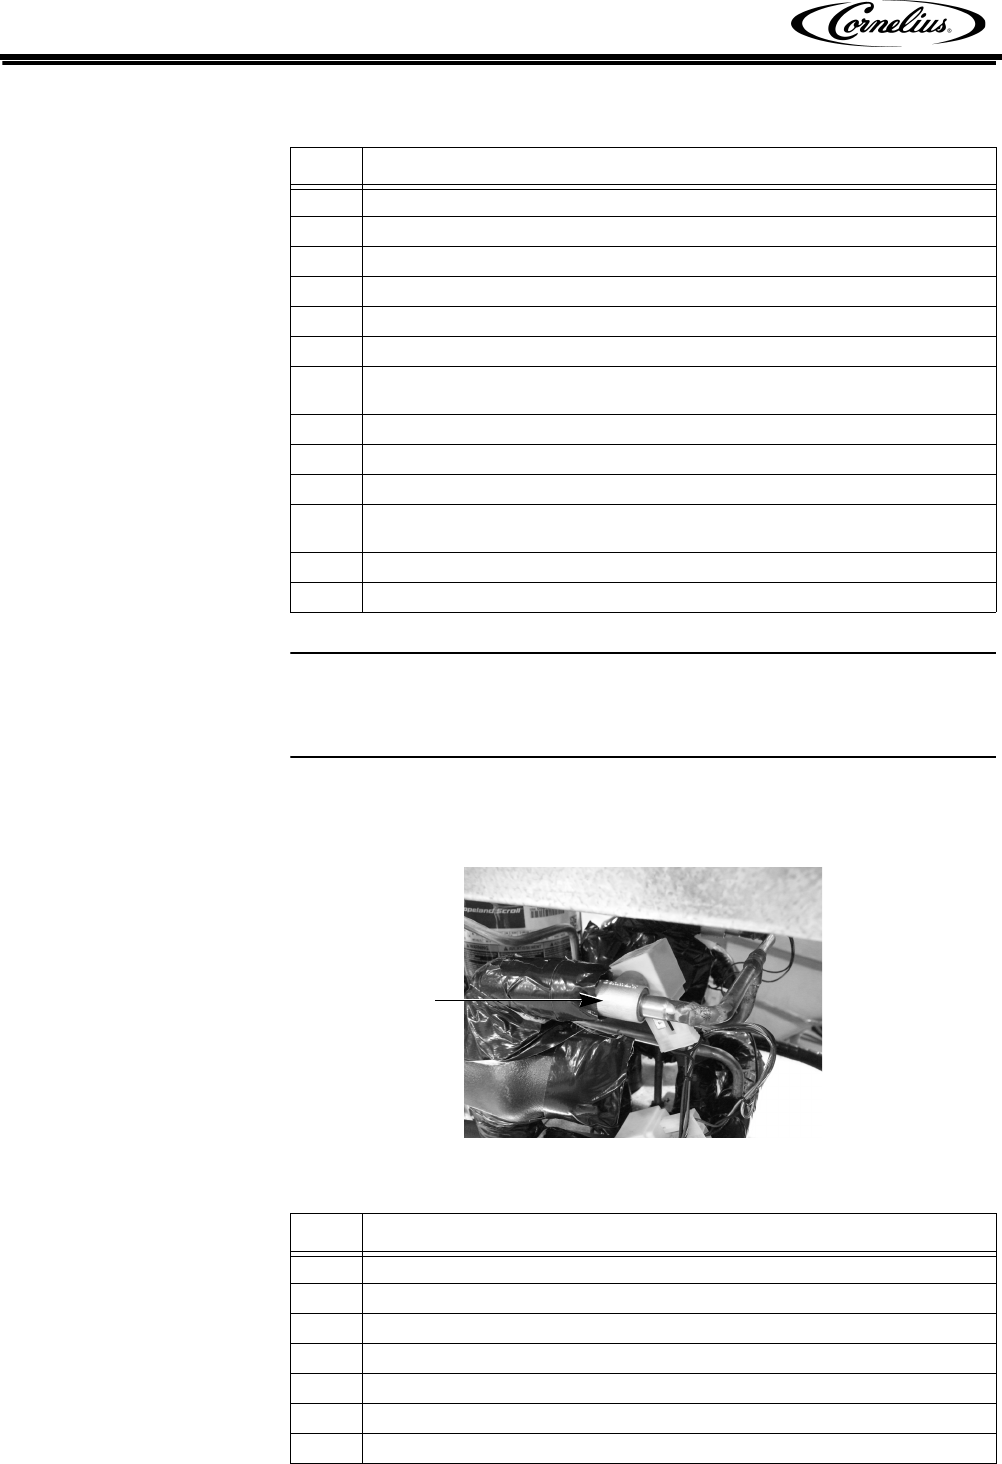
The hot gas valves and solenoids, shown in Figure 50, are located near the cen-
ter of the unit on the right and left sides. Whenever a hot gas valve and solenoid
is replaced, the dryer should be replaced at the same time.
Figure 50. Hot Gas Solenoid (1 per barrel)
Table 51
Step Action
1 Disconnect power to the unit.
2 Remove the rear cover and side panels.
3 Label and disconnect all wires from the compressor.
4 Remove the four (4) mounting nuts from the base of the compressor.
5 Remove all insulation from around fittings.
6 Unsweat the suction line from the compressor.
7 Cut the discharge line on top of the compressor (Make sure line can be
spliced back together.)
8 Remove the compressor and unsweat the discharge line.
9 Reverse the procedure to install the new compressor.
10 Replace the dryer.
11 Evacuate the system and recharge it according to the Cornelius nameplate on
the unit.
12 Replace the side panels and rear cover.
13 Reconnect power to the unit and test the unit.
Table 52
Step Action
1 Disconnect power from the unit.
2 Remove the side panels.
3 Reclaim refrigerant from the system.
4 Carefully remove the insulation and remove the hot gas valve and solenoid.
5 Replace the hot gas valve and solenoid.
6 Replace the insulation around the valve and solenoid.
7 Replace the filter-dryer.
Hot Gas
Solenoid