


28
Operat ing Procedures Mod el 5454
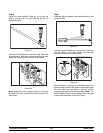
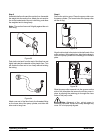
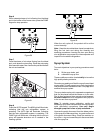
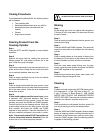
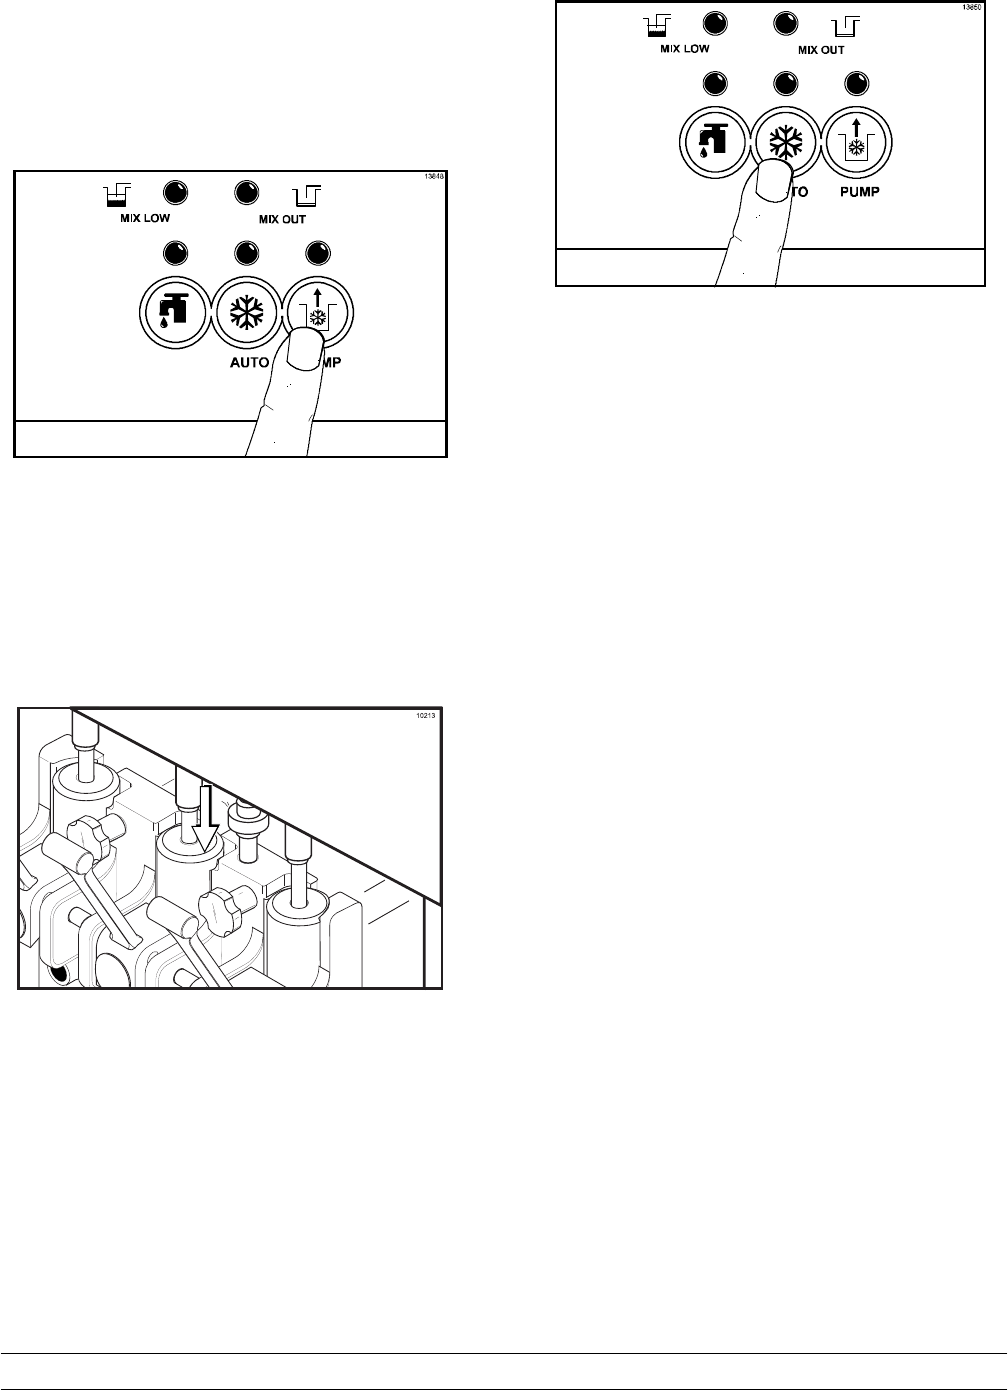
Step 6
When a steady stream of mix is flowing from the bleed
port in the bottom of the freezer door , press the PUMP
keypad to stop operation.
Figure 50
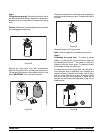
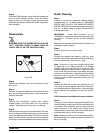
Step 7
Once the stream of mix stops flowing from the bleed
port, push down the prime plug. Rinse the prime plug
hole area with water; then remove the pail and discard
the mix and sanit izer.
Figure 51
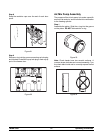
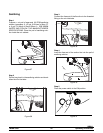
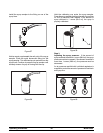
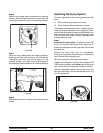
Step 8
Press the AUTO keypad. The MIX light will illuminate,
indicating that the mix refrigeration system is
operating. The AUTO light will illuminate, indicating
that the m ain refrigerat ion system is operating. The
PUMP light will illuminate, indicating that the air/mix
pump will operate whenever mix is needed in the
freezing cylinder.
Figure 52
When the unit cycl es off, the product will be at the
correct viscosity.
Note: Keep the mixcabinet door c losed, except when
filling the mix tank and during the cleaning and
sanitizing pr ocedures. Leaving the door open during
mix refr igeration may cause ice in the evaporator and
impair the mix cabinet refr igeration.
Syrup System
T wo main objectives in your opening procedures must
be to:
A. fill the syrup tank s, and
B. calibrate the syrup flow.
These conditions must be checked daily to insure the
high quality shake y ou desir e.
Discard syrup weekly and flush the syrup lines at least
once a week. This will prevent syrup from clogging the
lines and will break the bacteria chain. See page 34 to
sanitize the syrup system.
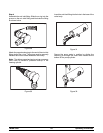
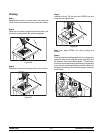
The syrup tanks can be put in a separate compartment
that c an be placed behind the freezer or to the side.
The air lines and syrup lines are color spiral wrapped.
Be sure to match the color wrapped air and syrup line
to the correct flavor s yrup tank .
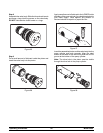
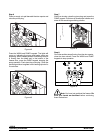
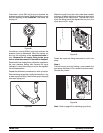
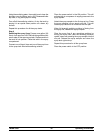
Note: To maintain proper calibration, vanilla and
strawberry syrup lines use restrictors at the syrup tank
quick dis connect c onnections. Use only single
streng th syrup that is free of pulp a nd seeds.
Unscrew the quick disconnect fr om the elbow portion
of the syrupline. Make sure the o- ring rest s on t heend
of the quick disconnect fitt ing. Place the restrictor on
top of the o- ring and screw the quick disconnect back
onto the syrup line.