© 1998 Maytag Corporation
16008373-01 SECTION 8. MOTOR DRIVE SYSYTEM
8-28-2
8-28-2
8-2
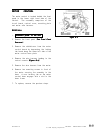
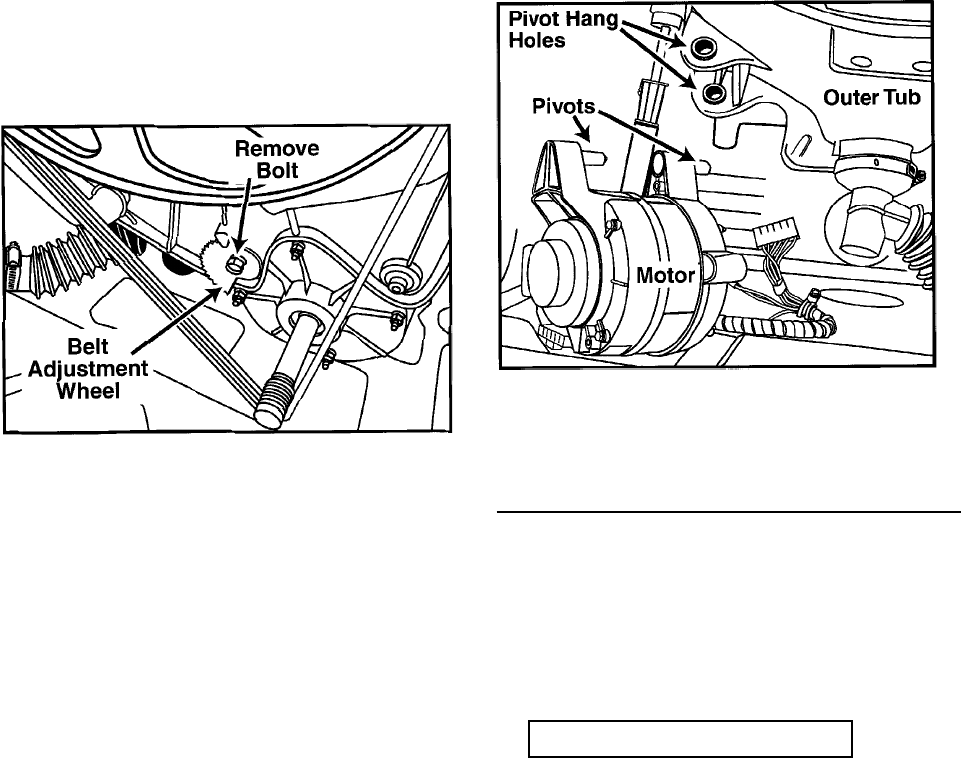
4. Lift the motor slightly to disengage the belt
from the motor pulley. Place motor on the
base frame.
5 . From the front, remove the wire harnesses
from the back of the motor.
6 . Grasp the motor and slide it carefully from
the pivot hang holes in the outer tub.
REPLACEMENTREPLACEMENT
REPLACEMENTREPLACEMENT
REPLACEMENT
1 . Reverse the previous procedures to re-
mount the motor.
NOTE:NOTE:
NOTE:NOTE:
NOTE:
Prior to hanging the motor, recon- Prior to hanging the motor, recon-
Prior to hanging the motor, recon- Prior to hanging the motor, recon-
Prior to hanging the motor, recon-
nect motor wire harnesses and ground wire.nect motor wire harnesses and ground wire.
nect motor wire harnesses and ground wire.nect motor wire harnesses and ground wire.
nect motor wire harnesses and ground wire.
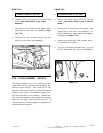
2. Prior to hanging the motor on the outer
tub, check the positioning of the rubber
motor mounts.
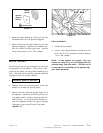
3 . Check belt tension. If loose, loosen the belt
adjustment wheel bolt and rotate the
wheel one notch in a clockwise rotation.
Check belt tension again. The belt should
experience no more than a 1" deflection
when depressed to the inside.
Figure 8-2Figure 8-2
Figure 8-2Figure 8-2
Figure 8-2
MACHINE CONTROLMACHINE CONTROL
MACHINE CONTROLMACHINE CONTROL
MACHINE CONTROL
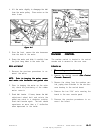
The machine control is located in the control
console and is secured to the rear cover.
REMOVALREMOVAL
REMOVALREMOVAL
REMOVAL
1.
Disconnect power to the unit.Disconnect power to the unit.
Disconnect power to the unit.Disconnect power to the unit.
Disconnect power to the unit.
2. Remove the control console
(See Control(See Control
(See Control(See Control
(See Control
Console Removal).Console Removal).
Console Removal).Console Removal).
Console Removal).
3. Remove the wiring from the machine con-
trol, paying close attention to the wire har-
ness hookup to the control board.
4. Remove the two 5/16" nuts securing the
board to the rear console panel.
5. Reverse the previous procedures to re-
mount the board.
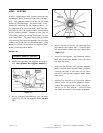
Figure 8-3Figure 8-3
Figure 8-3Figure 8-3
Figure 8-3


