


30
Model PH61Operating Procedures
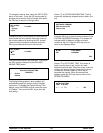
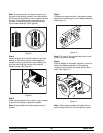
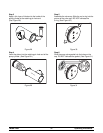
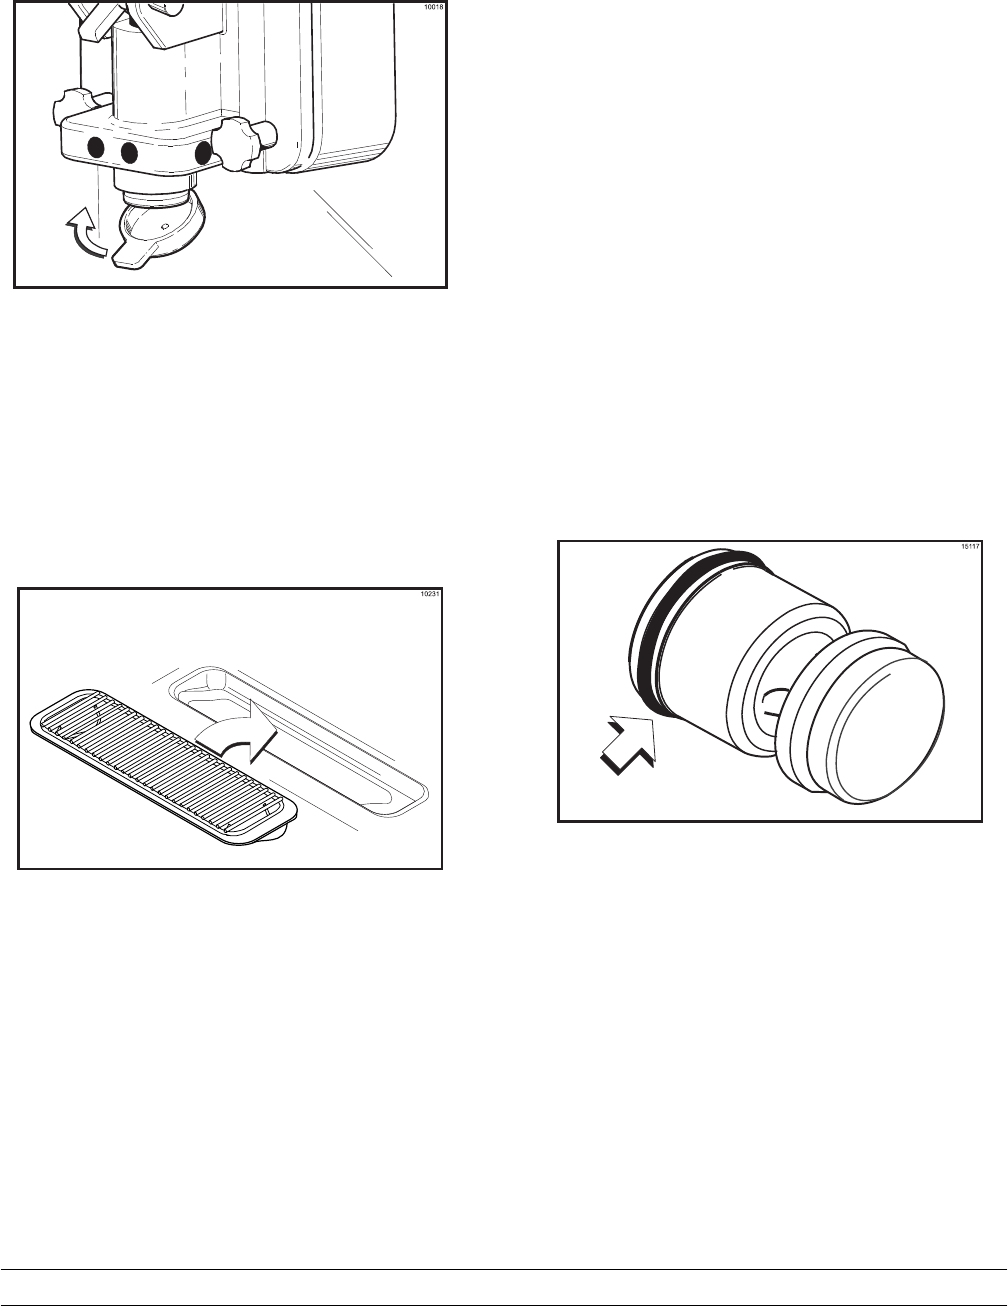
Step 19
Snap the restrictor cap over the end of the door
spout. (See Figure 25.)
Figure 25
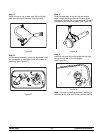
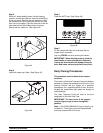
Step 20
Slide the long drip pan into the hole in the front
panel.
Step 21
Slide the short drip pan into the hole in the rear
panel.
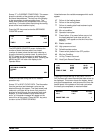
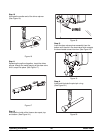
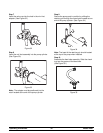
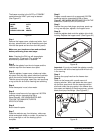
Step 22
Install the front drip tray and splash shield under the
door spout. (See Figure 26.)
Figure 26
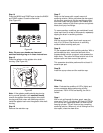
Mix Hopper Assembly
With the parts trays available:
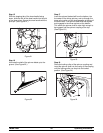
Step 1
Inspect the rubber pump parts. O-rings and gasket
must be in 100% good condition for the pump and
entire machine to operate properly. The o-rings and
gasket cannot properly serve their intended function
if nicks, cuts, or holes in the material are present.
Replace any defective parts immediately and
discard the old.
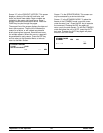
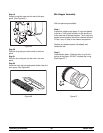
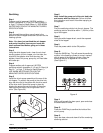
Step 2
Assemble the piston. Slide the red o-ring into the
groove of the piston. DO NOT lubricate the o-ring.
(See Figure 27.)
Figure 27