48
Model PH61Operating Procedures
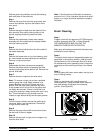
With the parts tray available, remove the following
parts and place in the parts tray:
Step 1
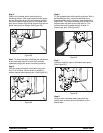
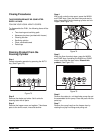
Remove the syrup lines from the syrup ports, and
remove the restrictor cap from the bottom of the
door spout.
Step 2
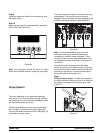
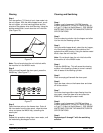
Remove the spinner blade from the bottom of the
door spout by lifting up the locking collar on the
spinner coupling and pulling down the blade.
Step 3
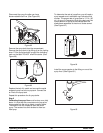
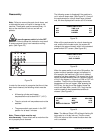
Remove the handscrews, freezer door, beater
assembly with drive shaft seal and scraper blades
from the freezing cylinder.
Step 4
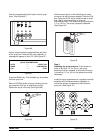
Remove the drive shaft seal from the drive shaft of
the beater assembly.
Step 5
Remove the freezer door o-ring, front bearing, pivot
pin, draw handle and draw valve spinner assembly.
Remove o-ring from pivot pin.
Step 6
Disassemble the draw valve spinner assembly.
Remove the driven spinner by grasping the draw
valve and pulling the driven spinner out. Remove the
spinner shaft seal.
Step 7
Remove the two o-rings from the draw valve.
Note: To remove o-rings, use a clean, sanitized
towel to grasp the o-ring. Apply pressure in an
upward direction until the o-ring pops out of its
groove. With the other hand, push the top of the
o-ring forward and it will roll out of the groove and
can easily be removed. If there is more than one
o-ring to be removed, always remove the rear o-ring
first. This will allow the o-ring to slide over the
forward o-rings without falling into the open grooves.
Step 8
From the pump cylinder, remove the retaining pin,
valve cap, piston, and the feed tube. Remove all
o-rings and the check ring.
Step 9
Remove the pump drive shaft from the drive hub in
the rear wall of the mix hopper.
Step 10
Remove the two small o-rings and one large o-ring
from the drive shaft.
Note: If the drip pans are filled with an excessive
amount of mix, it is an indication that the drive shaft
seal(s), or o-ring(s) should be replaced or properly
lubricated.
Brush Cleaning
Step 1
Prepare a sink with an approved 100 PPM cleaning
solution (examples: Kay-5® or Stera-Sheen®).
USE WARM WATER AND FOLLOW THE
MANUFACTURER'S SPECIFICATIONS.
Make sure all brushes provided with the freezer are
available for brush cleaning.
Step 2
Thoroughly brush clean all disassembled parts and
parts trays in the cleaning solution, making sure all
lubricant and mix film is removed. Be sure to brush
all surfaces and holes, especially holes in the pump
valve body and the small syrup holes in the freezer
door.
Step 3
Rinse all parts with clean, warm water, one tray at a
time, including the tray.
Step 4
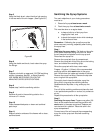
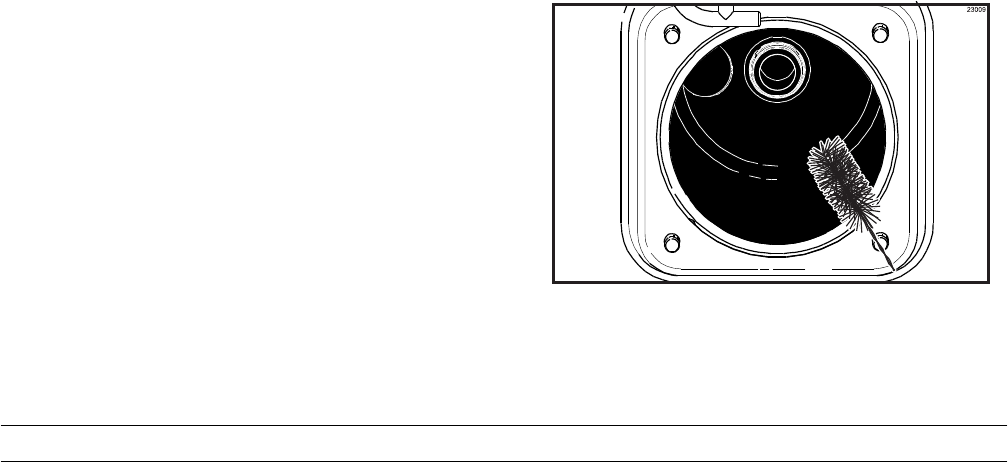
Return to the freezer with a small amount of
cleaning solution. Using the black brush, clean the
rear shell bearing at the back of the freezing
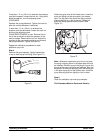
cylinder. (See Figure 82.)
Figure 82


