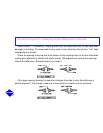
Note: Drive shaft end-float at final drive position must not allow coupling hub faces to contact,
or the coupling shroud to bind.
Preliminary Alignment
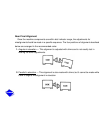
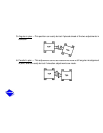
To get within dial indicator range, roughly align the equipment as shown in Figure 37 and as
described below.
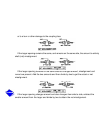
Place a straight edge across the OD of one coupling to the OD of the other. Measure the gap
between the straight edge and the OD of the second coupling with a feeler gage. Then, by
adding or removing shims at each corner, raise or lower the equipment by the measured
amount.
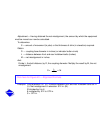
In a similar manner, measure the shaft offset from side to side and jack the equipment over
as required to correct.
Click here for Figure 37 — Checking Preliminary Alignment


