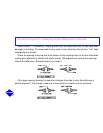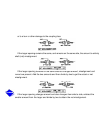
5. Tighten the holddown bolts and recheck the indicator. If the reading has changed, loosen
the three bolts and readjust. It may be necessary to over or undershoot the desired reading
to allow for the effect of bolt tightening.
Correcting Parallel Misalignment
Preparation
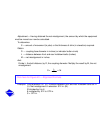
— Attach the dial indicator to one shaft or coupling hub and place the indicator
button on the O.D. of the other hub. The reach of the dial from one hub to the other should be
parallel to the shafts, and the dial button shaft should point directly through the center of the
shaft on which it rests. Compress the plunger to about mid-position and set the dial at zero.
Check the tightness of the dial button and the indicator linkage by rotating the shaft to which
the indicator is attached 360 degrees. The dial should return to zero. Check for repeatability.
Check for runout by rotating the hub on which the dial button rests 180 degrees. If the runout
exceeds .001 total indicator reading, the hub should be removed and the shaft checked. Shaft
runout must not exceed .001 TIR.
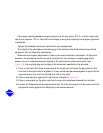
The effect of hub runout can be eliminated by locating a position on the half coupling where
two readings 180 degrees apart read zero. Rotate the coupling so that one zero point is at the
top and the other at the bottom when checking for misalignment in elevation. Place the zero
Click here for Figure 41 — Adjusting Angular Misalignment in Plan


