Model 500/600
3-16. LIMIT STOP
ADJUSTMENT
(Continued)
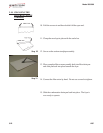
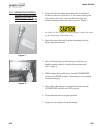
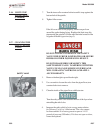
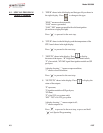
7. Turn the inner collar counterclockwise until it stops against the
bottom hub of the spindle.
8. Tighten Allen screws.
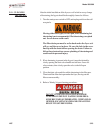
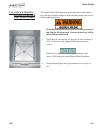
If the lid cover fails to seal properly, steam escapes from
around the gasket during frying. Readjust the limit stop, this
time turning the spindle 1 full turn after the initial contact of the
lid gasket with the frypot rim (step 5).
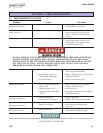
DO NOT ATTEMPT TO REMOVE THE SAFETY
VALVE WHILE FRYER IS OPERATING, OR SEVERE
BURNS OR OTHER INJURIES WILL RESULT.
DO NOT DISASSEMBLE OR MODIFY THIS
SAFETY RELIEF VALVE. TAMPERING WITH THIS
VALVE COULD CAUSE SERIOUS INJURIES AND
WILL VOID AGENCY APPROVALS AND APPLI -
ANCE WARRANTY.
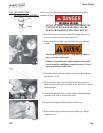
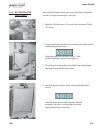
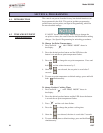
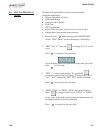
1. Remove deadweight cap and deadweight.
2. Use a wrench to loosen the valve from the pipe elbow, turn
counterclockwise to remove.
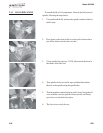
3. Clean the inside of the pipe elbow with hot water.
Turn the safety relief valve towards the rear of the fryer when
reinstalling the relief valve.
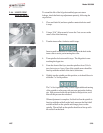
4. Immerse the safety relief valve in a soapy water solution
for 24 hours. Use a 1 to 1 dilution rate. The valve cannot
be disassembled. It is factory preset to open at 14-1/2
pounds of pressure (999 mbar). If it does not open or close,
it must be replaced.
3-30 1207
3-17. CLEANING THE
SAFETY RELIEF
VALVE
SAFETY VALVE


