


24
SETTING CONTROLS
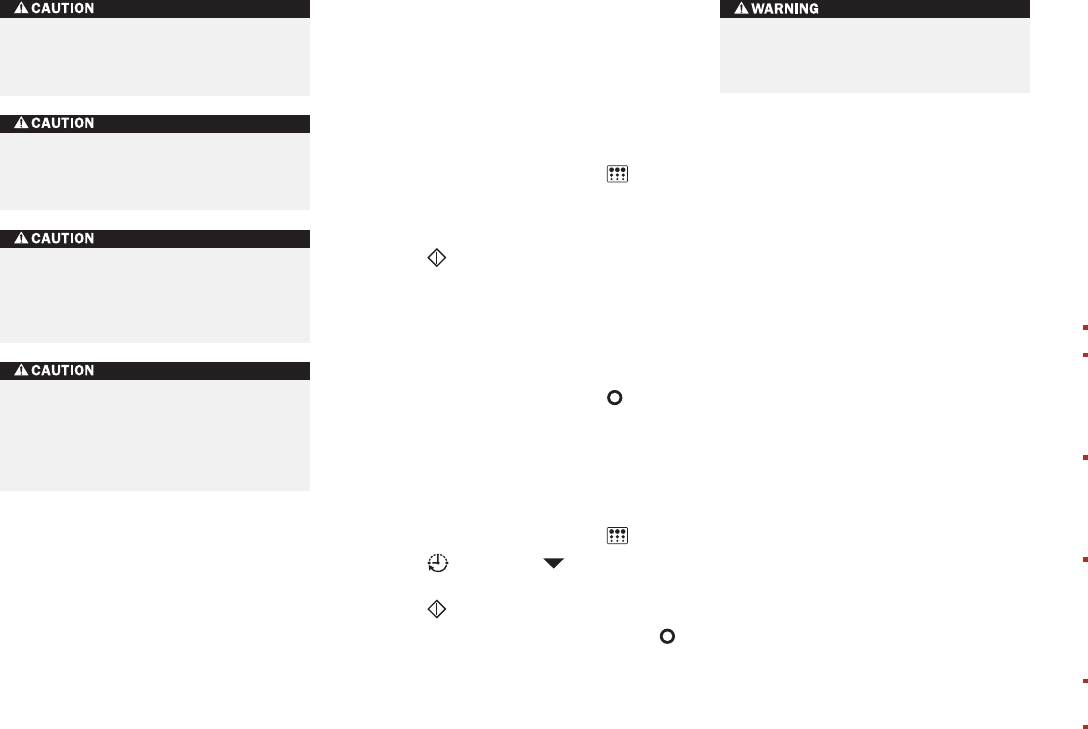
For self-clean mode:
1)
Open hidden control panel by pressing in
on the flame symbol on the front of the
panel.
2)
Remove all oven racks and rack guides
before using
self-clean mode
.
3)
Turn oven selector knob bezel to . The
oven will automatically be set to self-clean
for 4 hours. The oven will self-clean for 3
hours and cool down for 1 hour.
4)
Touch on the hidden control panel or
turn the oven selector knob bezel in either
direction until ”
cln
” is displayed in the
knob to start
self-clean mode
. The oven
door will lock and remain locked until the
end of the mode or until the temperature
has cooled to 150˚C.
5)
Turn oven selector knob bezel to to end
this mode.
Self-clean mode for light cleaning:
For light cleaning,
self-clean mode
can be set
for 3 hours. To lower self-cleaning time:
1)
Turn oven selector knob bezel to .
2)
Touch and hold the arrow until 3:00
is displayed.
3)
Touch twice to begin clean cycle.
4)
To stop the clean cycle, turn bezel to the
position. The door will remain locked until
the oven reaches a safe temperature.
SELF-CLEAN MODE
WOLF DUAL FUEL RANGE
OVEN OPERATION
Never wipe a warm or hot porcelain
surface with a damp sponge. It may
cause chipping or crazing (tiny hairlike
lines).
Excess spillage in the oven must be
removed before cleaning. Do not leave
any utensils in the oven during cleaning.
Remove oven racks and rack guides prior
to self cleaning.
The oven gasket is important for a good
seal. Do not hand clean, rub, puncture or
remove.
Do not use any commercial oven cleaners
or oven liner protective coatings on or
around any part of the oven.
WOLF DUAL FUEL RANGE CARE
CLEANING
THE RANGE
EXTERIOR CLEANING
Cleaning the classic stainless steel exterior
finish:
Use a soft, nonabrasive stainless steel
cleaner and apply with a soft, lint-free cloth.
To bring out the natural luster, lightly wipe the
surface with a water-dampened microfiber
cloth, followed with a dry microfiber cloth. All
work should follow the grain direction of the
finish. Better results are obtained by keeping
the cloth in continuous contact with the metal.
Refer to care recommendations on the follow-
ing pages for cleaning specific components of
the dual fuel range.
RANGE CLEANING TIPS
Wait until surfaces are cool before cleaning.
For best results, wipe up spills and spatters
as they occur and immediately after the
range has cooled. If splatters are allowed to
cook on, they may permanently damage or
stain the finish.
If in doubt about using one of your
cleaners, check the label. To check if it is
safe to use on your range, try a small
amount on an inconspicuous area using
very light pressure.
Use caution when spraying cleaners. Some
contain caustic ingredients that can damage
adjacent parts and finishes. Protect the
adjacent parts by masking them off so that
the overspray is contained to the finish
being cleaned.
Do not spray cleaners on electrical controls,
igniters, wires or knob valve stems.
Do not use harsh abrasive cleaners or sharp
metal scrapers to clean the oven door glass
since they can scratch the surface, which
may result in shattering of the glass.
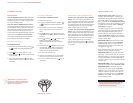
OVEN LIGHT BULB REPLACEMENT
IMPORTANT NOTE:
Allow the oven to cool
sufficiently before replacing the light bulb.
The oven uses a 40-watt halogen light bulb.
To remove the oven light bulb,
remove the
oven rack guides as described on page 14.
Place a hot pad against the oven wall. Using a
flat-head screwdriver, press the screwdriver
against the hot pad and under the edge of the
light cover. Be careful not to scratch the porce-
lain oven interior. Twisting the screwdriver,
gently pry the edge of the light cover up away
from the wall and remove. Use a paper towel
to handle the light bulb and remove it from the
socket.
To replace the oven light bulb,
avoid direct
contact with the replacement bulb. Use a paper
towel to handle the new light bulb to keep oil
on fingers from touching the bulb. Failure to
do this will cause the bulb to burn out at first
use. Insert the light bulb prongs into the socket
until it snaps into place. Replace the light cover
and oven rack guides. Turn on electrical power
and reset the time-of-day clock.
Ensure that the appliance is switched off
before replacing the lamp to avoid the
possibility of electric shock.