


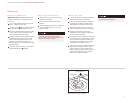
7
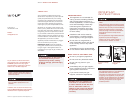
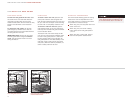
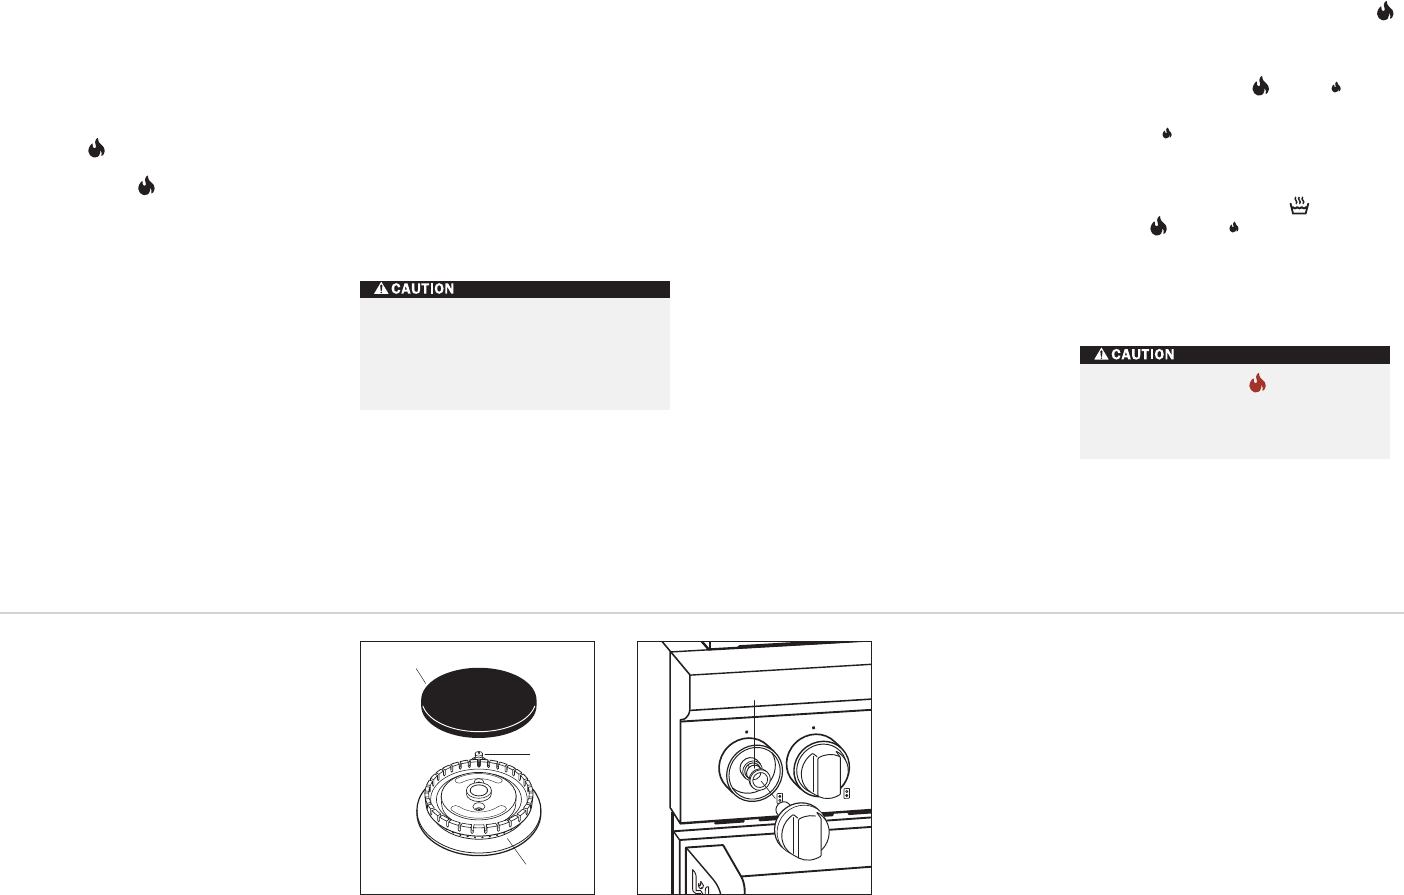
DUAL-STACKED BURNER ASSEMBLY
The unique dual-stacked burner design
combines all of the burner parts in one
assembly.
After cleaning or removing burner parts for
any reason, it is extremely important that you
reassemble burners correctly.
The burner cap must be seated flatly on the
burner. There is a groove on the bottom of the
burner cap. Adjust the burner cap until it drops
into place and is seated flat on top of the
burner. Failure to do this will result in a poor
flame. Refer to the illustration below.
SURFACE BURNERS
A spark electrode ignites each surface burner.
This control eliminates the need for continuous
open flame pilots. For added safety and
convenience, each burner is designed with an
electronic reignition system. This feature
enables any burner to relight automatically in
the event it is accidentally extinguished.
Large burners provide a rating of 4.8 kW
(291 g/h) on with .3 kW (22 g/h) delivered at
simmer. The small burner provides a rating of
2.7 kW (178 g/h) on with .1 kW (7 g/h) deliv-
ered at simmer. All burners have simmer
settings.
A distinguishing feature of Wolf’s low kW
control is its constant, low heat output without
continuous ignitions. The flame diameter
remains full size; only the heat output is
lowered. This patented dual-stacked burner
design makes it possible to enjoy cooking at
full flame as well as maintain control while
simmering at the lowest flame setting.
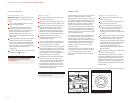
WOLF DUAL FUEL RANGE SURFACE OPERATION
Burner Cap
Igniter
Sealed Burner
Dual-stacked burner assembly.
Nyliner Insertion
Nyliner insertion.
Failure to position the burner parts
correctly could cause flames or gas to
escape, causing heat damage to your
range, or burn between parts, resulting
in poor combustion.
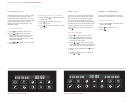
CONTROL KNOBS
The control knobs are positioned to corre-
spond to the burners they regulate. The knobs
on the far left regulate the burners on the left
side. Conversely, the knobs on the far right
regulate the burners on the right side.
The precision fit of the control knobs requires
the use of a nyliner insertion between the knob
and bezel. When removing knobs for cleaning,
place the bearing back inside the bezel for easy
reinstallation of the knobs. Refer to the illustra-
tion below.
To light a burner:
push in and turn the corre-
sponding control knob counterclockwise to
setting. You will hear a clicking sound and see
the burner ignite. Once the burner is lit,
continue turning the knob counterclockwise to
any one of the settings – through .
To select a simmer setting:
turn the burner
knob to the setting; you will feel a stop
detent in the knob rotation. Push in on the
knob, continuing to turn it counterclockwise.
This moves the flame to the second tier. Now,
select any variation within the flame
settings – through .
Each knob is designed to be a ”push-to-turn”
knob. Although this is a child-safe design,
children should never be left unattended in the
kitchen when the range is in use.
Never leave pans on a setting unat-
tended. Be particularly cautious when
cooking food in fat or grease. It can
become hot enough to ignite.