5
Using Your Cordless
Crepe Maker
1. Before using, wipe non-stick cooking surface with a damp
cloth and dry.
2. Place crepe maker on cordless base.
3. Plug into 120 V ~ 60 Hz outlet.
4. Turn the power switch to on. The red Ready Light will come
on.
5. Allow the crepe maker to preheat until the red Ready Light
turns off.
6. Prepare the crepe batter as per the recipe. Pour the batter
into the dipping tray. Do not overfill.
7. Have a clean plate nearby to stack the finished crepes.
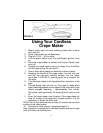
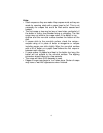
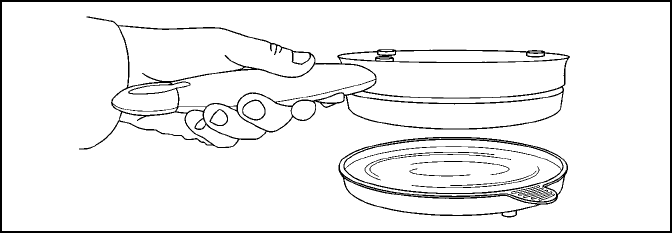
8. Grasping the handle of the crepe maker, turn the unit over
and dip the non-stick cooking surface into the batter
(as shown in FIGURE 2), swirling gently for a moment. Do
not redip.
9. Turn the crepe maker to the upright position and return to the
base.
10. The red Ready Light will turn on. The crepe is ready when
slight browning appears at the edges of the crepe and it has
almost stopped steaming – approximately one minute.
During the cooking process, the ready light will cycle on and
off.
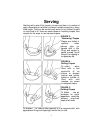
11. Invert the crepe maker over the plate. If the crepe does not
drop off, loosen at the edge with a plastic spatula. It is not
necessary to brown the other side.
NOTE: Do not use metal utensils as they will scratch the non-stick
surface of the crepe maker.
12. Continue to make crepes—repeating steps 8-11.
Note: Variation in ingredients or individual preferences as to crepe
color will affect the cooking time.
FIGURE 2


