


57
Model PH90 Operating Procedures
081210
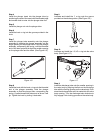
Step 3
Open the draw valve on the freezer door. Drain all the
rinse water from the door spout, close the draw valve,
and press the WASH keypad, cancelling t he wash
cycle.
Step 4
Repeat this procedure using clean, warm water, until
the water being discharged is clear.
Repeat steps 1 through 4 for the soft serve side of
the freezer.
Cleaning and Sanitizing
To clean and sanitize both sides of the freezer , the
steps will be the same. Therefore, first clean and
sanitize the shake side, then go back and duplicate
these p rocedures for the soft serve side.
Step 1
Prepare a pail of an approved 100 PPM cleaning solu-
tion (examples: 2--1/2 gal. [9.5 liters] of Kay--5R or
2 gal. [7.6 liters] of Stera--SheenR). USE WARM WA-
TER AND FOLLOW THE MANUF ACTURER’S
SPECIFICATIONS.
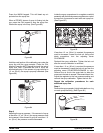
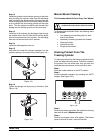
Step 2
Pour the cleaning solution into the hopper and allow it
to flow into the freezing cylinder.
Step 3
While the solution is flowing into the freezing cylinder ,
brush clean the mix hopper, mix level sensing probes,
the outside of the agitator drive shaft housing, and the
mix inlet hole.
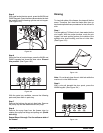
Step 4
Press the WASH keypad. This will cause the cleaning
solution in the freezing cylinder to be agitated.
Step 5
Place an empty pail beneath the door spout.
Step 6
Open the draw valve on the freezer door and draw off
all the solution.
Step 7
Once the cleaner stops flowing from the door spout,
close the draw valve and press the WASH keypad,
cancelling the wash cycle.
Step 8
Prepare a pail of an approved 100 PPM sanitizing
solution (examples: 2--1/2 gal. [9.5 liters] of Kay--5 R
or 2 gal. [7.6 liters] of Stera--S heenR). USE WARM
W ATER AND FOLLOW THE MANUFACTURER’S
SPECIFICATIONS.
Repeat steps 2 through 7 with the sanitizing
solution.
Repeat steps 1 through 8 for the soft serve side of
the freezer.
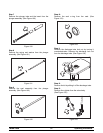
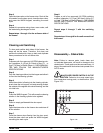
Disassembly -- Shake Side
Note: Failure to remove parts, brush clean and
re--lubricate these parts, will result in damage to the
related parts. These parts must be removed every 14
days or the machine will lock out and not operate in the
AUTO mode.
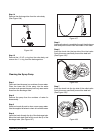
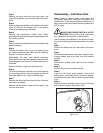
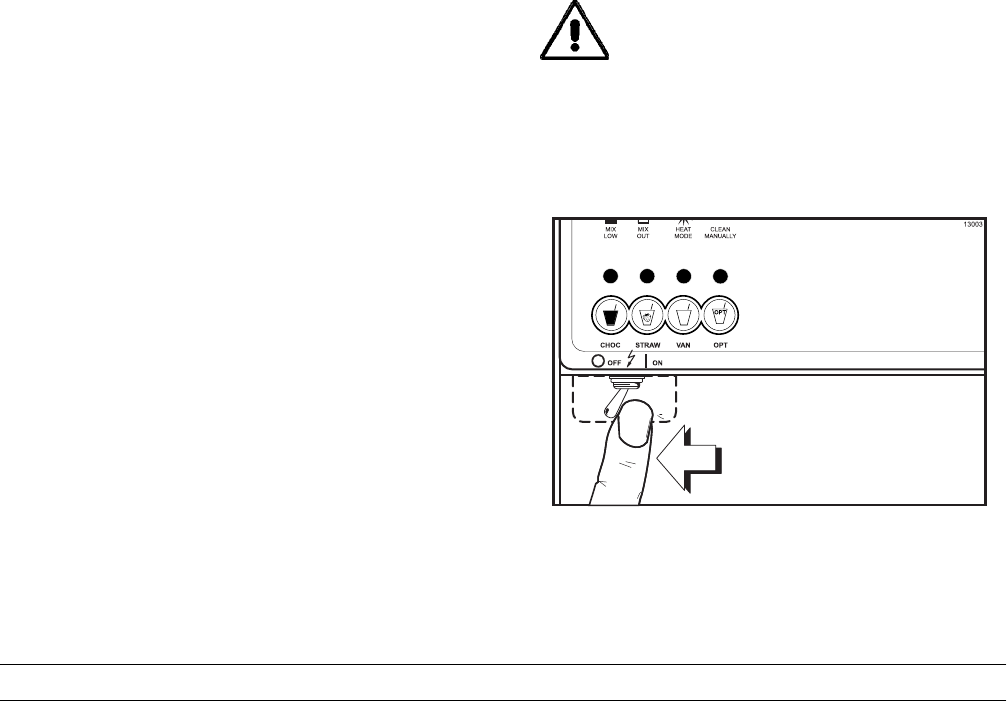
MAKE SURE POWER SWITCH IS IN THE
“OFF ” POSITION. Failure to do so may cause injury
from hazardous moving parts, or electrocution. (See
Figure 125.)
Figure 125