2-22 Copyright 1999, 3M IPC. All rights reserved.
3. Disconnect the plastic conduit at the Electrical
Control Panel, which connects to the Pneumatic
Control Panel. This conduit contains the electri-
cal wires for the valve solenoids.
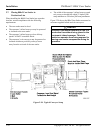
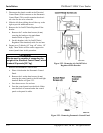
4. Slide the left front sliding door all the way to the
right to provide additional access.
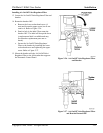
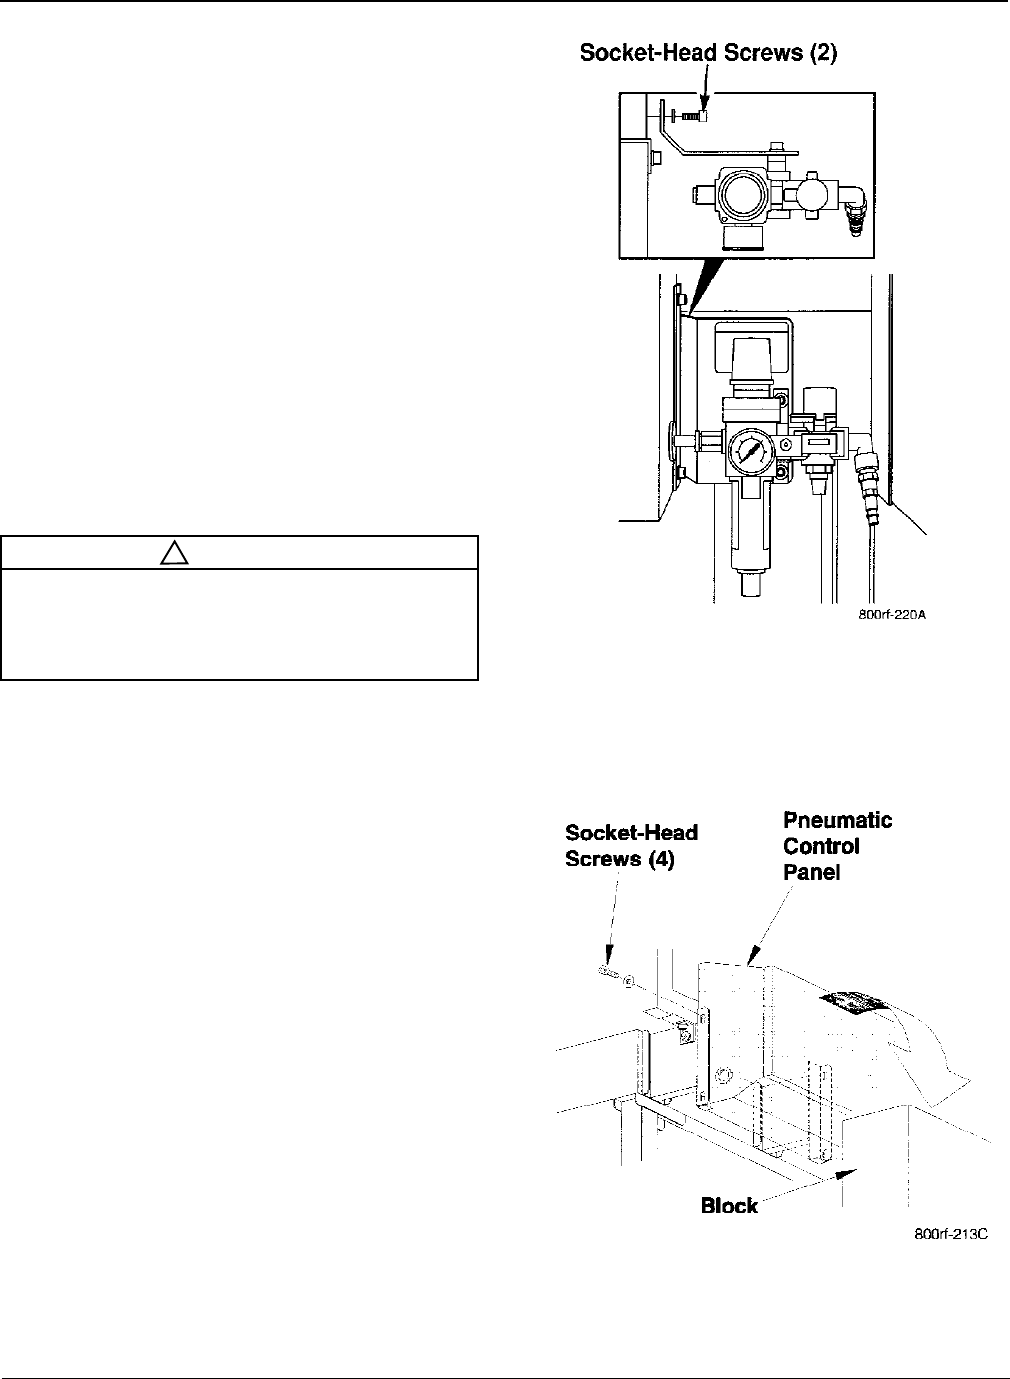
5. Remove the Air On/Off Valve/Regulator/Filter
bracket.
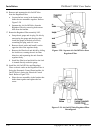
a. Remove the 2 socket-head screws (6 mm)
securing the bracket to the mainframe
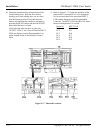
bracket. Refer to Figure 2-22.
b. Set this bracket (with Air On/Off Valve/
Regulator/Filter attached) aside for use later.
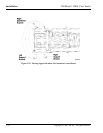
6. Prepare two (2) blocks (10 long x 8 wide x 18
high). These blocks will be used to support the
control panels later in this procedure.
Caution
Blocks must be capable of supporting the
weight of the Electrical Control Panel, which
is about 50 pounds [22.7 kg].
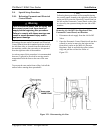
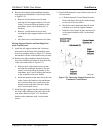
7. Remove the Pneumatic Control Panel.
a. Place a block under the Pneumatic Control
Panel.
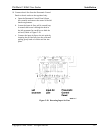
b. Remove the 4 socket-head screws (6 mm)
securing the control panel to the left and right
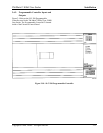
brackets. Refer to Figure 2-23.
c. Save these screws for use later.
d. Ease the control panel onto the block. Make
sure the block is centered under the control
panel so the panel is stable.
Figure 2-23. Removing Pneumatic Control Panel
Figure 2-22. Removing Air On/Off Valve/
Regulator/Filter Bracket
Installation 3M-Matic 800rf Case Sealer
!


