2-28 Copyright 1999, 3M IPC. All rights reserved.
Removing Electrical Control Panel
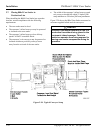
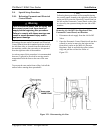
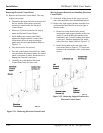
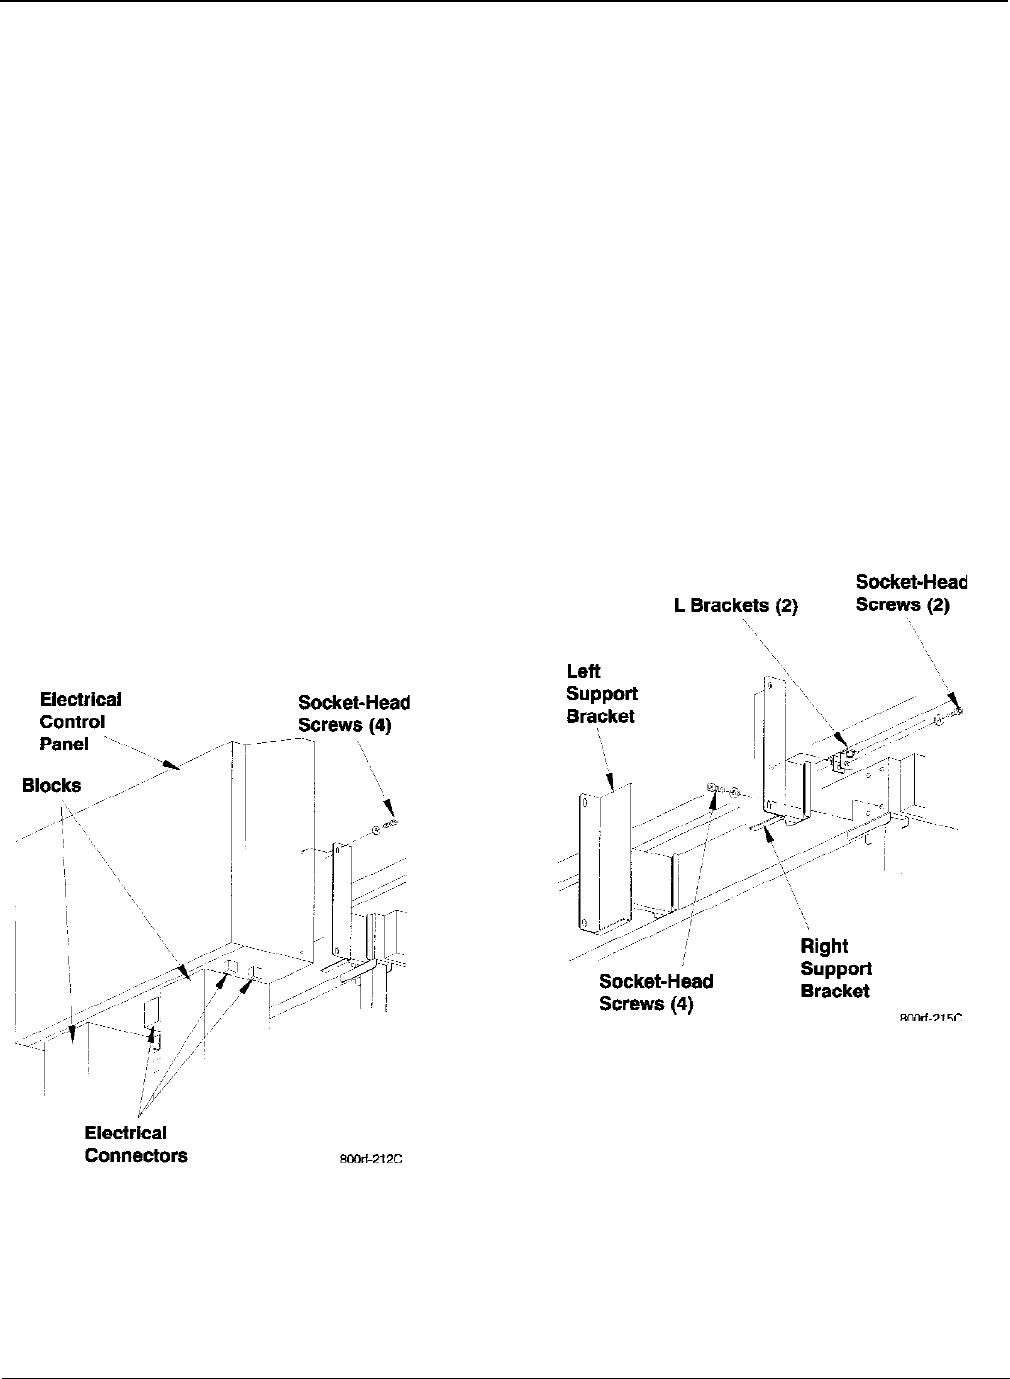
20. Remove the Electrical Control Panel. This step
requires two people.
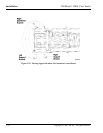
a. Disconnect the large electrical connector and
the two smaller infeed motor electrical
connectors located under the Electrical
Control Panel.
b. Place two (2) blocks (described in Step 6)
under the Electrical Control Panel.
c. While holding the control panel firmly
against the support brackets, remove the 4
socket-head screws (6 mm) securing the
panel to the left and right brackets. Refer to
Figure 2-31.
d. Save these screws for use later.
e. Ease the control panel onto the blocks. Make
sure the blocks are centered under the control
panel so the panel is stable. Be careful not to
damage the electrical connectors.
f. Carefully move the blocked Electrical
Control Panel aside for later work.
Figure 2-31. Removing Electrical Control Panel
Moving Support Brackets and Installing Electrical
Control Panel
21. Slide both sliding doors all the way to the exit
end of the machine to provide additional access.
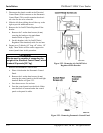
22. Remove the right support bracket from the front
of the machine and install it at the rear right of
the case sealer.
a. Remove 6 socket-head screws (6 mm)
securing the right support bracket to the case
sealer (4 screws holding the bracket to the
mainframe, and 2 screws holding the bracket
to the two L brackets attached to the under-
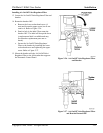
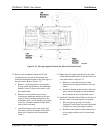
side of the door frame). Refer to Figure 2-32.
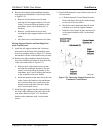
b. Install this bracket at the rear right of the
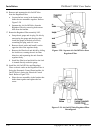
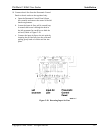
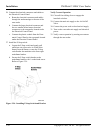
case sealer. Refer to Figure 2-33. Secure the
bracket to the mainframe with 4 socket-head
screws.
Figure 2-32. Removing Support Brackets for
Electrical Control Panel
Installation 3M-Matic 800rf Case Sealer


