3-10. Motor Drive Belts, Upper and Lower
This is not a routine adjustment. Normally, it is
necessary only after major disassembly or repair of
related components.
Specification
Adjust the motor drive belts to maintain proper belt
tension.
Adjustment
Warning
Turn the main air supply and electrical
power off before making this adjustment.
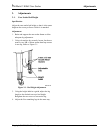
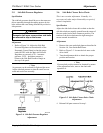
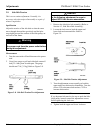
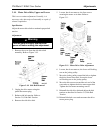
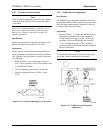
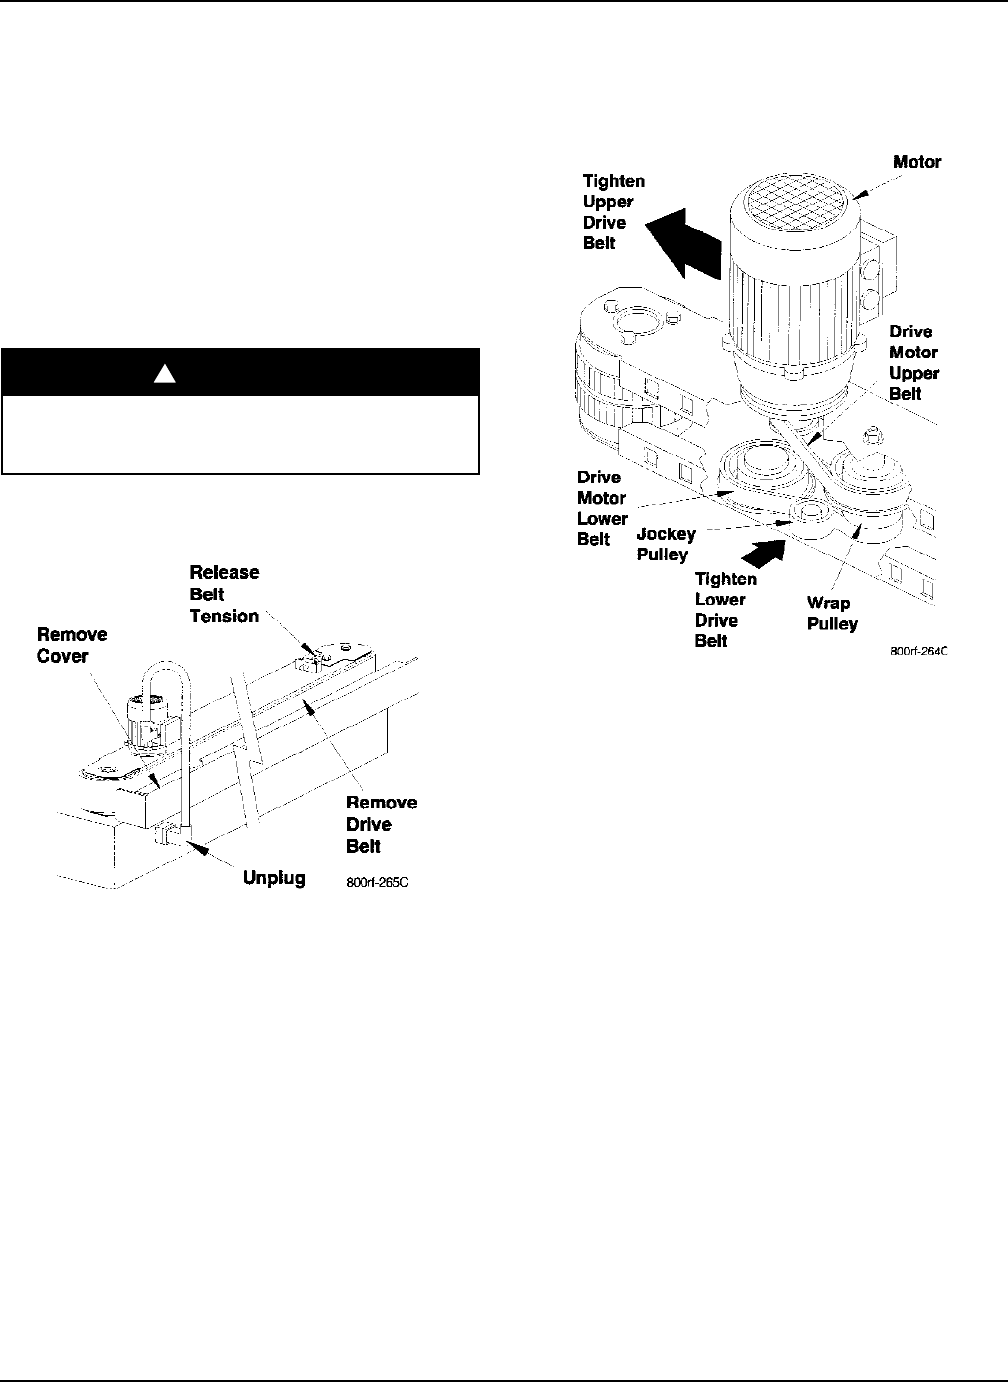
1. Remove the cover from the side drive belt
assembly. Refer to Figure 3-10.
Figure 3-10. Side Belt Removal
2. Unplug the drive motor using the
quick-disconnect plug.
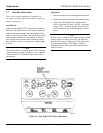
3. Release side belt tension. Refer to
Section 3-9, Side Belt Tension.
4. Remove the side drive belt.
3M-Matic 800rf Case Sealer Adjustments
Copyright 1999, 3M IPC. All rights reserved. 3-9
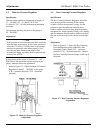
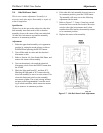
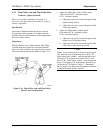
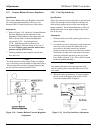
5. Loosen, but do not remove, the four screws
securing the motor to its base. Refer to
Figure 3-11.
Figure 3-11. Motor Drive Belts Adjustment
6. Loosen, but do not remove, the lower self-locking
nut on the jockey pulley.
7. Move the jockey pulley toward the belt to tighten
the drive motor lower belt. Secure the lower
self-locking nut on the jockey pulley.
8. Move the drive motor toward the exit end of the
case sealer to tighten the drive motor upper belt.
Tighten the four motor mounting screws.
9. Reinstall the side drive belt and adjust the belt
tension as described in Section 3-9, Side Belt
Tension.
10. Reinstall the belt cover and reconnect the drive
motor power plug.
Warning!


