


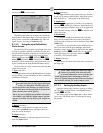
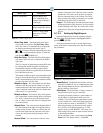
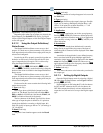

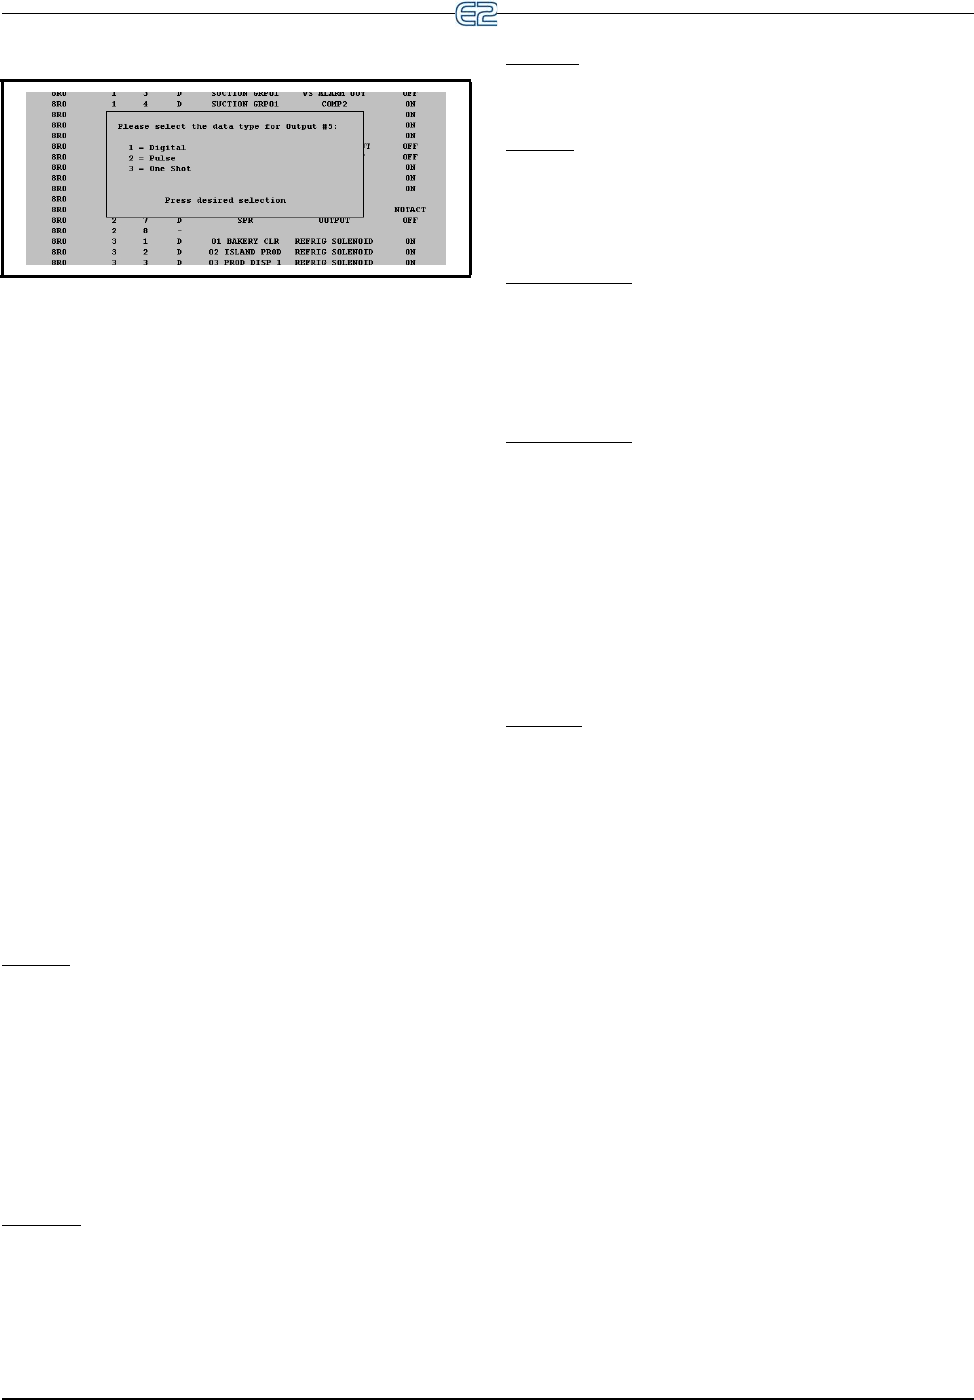
Figure 9-11 - Output Data Type Pop-Up Menu
The 8RO, 8IO, and MultiFlex Outputs Input and Output Setup • 9-13
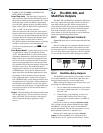
Depending upon what type of output you selected, the
Digital Output, (see
Section 9.2.7.3, Setting Up Digital
Outputs) Pulse Digital Output, or One Shot Digital Output
screen will appear.
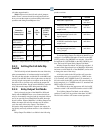
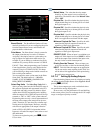
9.2.7.2 Using the Output Definitions/
Status Screen
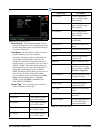
The Output Definitions/Status screen serves a dual
purpose. It is both an at-a-glance summary of all points on
each output board and a menu where output points may be
selected and configured.
In order for the E2 to properly control
devices that are
hooked to an I/O board, you must first tell the E2 what
type of output the devices require. This is achieved by
using the Output Definitions/Status screen.
(S
ETUP), (DEL/MOD), (LOOK
UP), and (CANCEL) are the function keys along the
bottom of the screen available for the Output Definitions/
Status screen.
The Output Definitions/Status screen serves a
dual
purpose. It is both an at-a-glance summary of all points on
each output board and a menu where output points may be
selected and configured.
Each record in this screen contains
the following infor-
mation about a point:
1. Type (read-only)
Board Type shows which kind of output board the
poi
nt is on. The Board Type field will read either 8RO,
8DO, or 4AO for I/O Network 16AI boards, E16AI, and
8ROE for Echelon Network 16AIe boards.
The last character of the Boa
rd Type field also shows
what type of input the point is defined as. If a point has
already been defined as an analog or digital input, this
field will signify its input type with an “A” (for analog) or
“D” (for digital).
2. Board (read-only)
The point’s board number appears under the Board
fi
eld.
3. Point (read-only)
The point number of each point
appears in its record in
the Point field.
4. Type (read-only)
The Ty
pe field shows the output’s data type. Possible
Types are: A (Analog), D (Digital), O (One Shot), or P
(Pulse). If the point has not been identified, a “-” will
appear at the end of the field instead.
5. Application
Select which application you wish to set up inputs to.
Pressing (LOOK UP) when on a defined point will
open the Application Selection menu--a list of application
types currently existing in the box. (CANCEL) will
cancel this menu.
6. Association
If a point has already been defined and is currently
being used by an application, the name of the input to
which the point is connected will be displayed in the Asso-
ciation fi
eld.
Association is the application’
s user-defined property
that is associated with the point. Multiple applications
attached to single input will all be displayed in the Associ-
ation fiel
d. Pressing (LOOK UP) when on a set
application will bring up a list of property selections.
(CANCEL) will cancel this menu.
7. Value (read-only)
Value shows the sensor value in the units you select for
th
e output type.
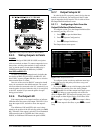
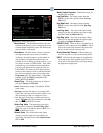
9.2.7.3 Setting Up Digital Outputs
Open the Digital Output screen by selecting a Digital
(D) input from the Output Status screen Figure 9-10 and
pressing (S
ETUP).
Digital Outputs are ON when the E2
calls for them to
be ON, and OFF whenever the E2 calls for them to be
OFF. Most outputs that directly activate and deactivate
output devices will need to be set up as the Digital output
type.