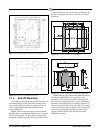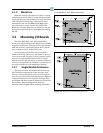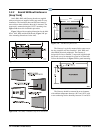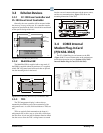
Figure 3-24 - Outdoor RH Sensor - Exploded View
3-10 • E2 RX/BX/CX I&O Manual 026-1614 Rev 4 5-JAN-2013
3.5.8.3 Duct-mounted Insertion RH
Probe
Emerson Retail Solutions specs a duct-mounted rela-
tive humidity (RH) sensor (P/
N 203-5771) with a 0-5VDC
output for use in building control and anti-sweat control
applications using Emerson Retail Solutions input boards.
1. Cut a small circular hole in the duct large enough
fo
r the sensor tube to fit through.
2. Bolt the sensor enclosure against the outs
ide of
the duct wall so that the sensor element fits
through the hole and into the duct. The enclosure
may be mounted horizontally, as shown in Fig-
ure 3-25 or vertically. The screws should be tight
enough for the foam gasket around the bottom of
the sensor
to form an airtight seal between the
hole in the duct wall and the outside air.
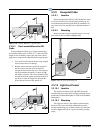
Figure 3-25
- Duct-mounted RH Sensor - Exploded View
3.5.9 Dewpoint Probe
3.5.9.1 Location
The Dewpoint Probe (P/N 203-1902) should be located
4 to 6 feet from the floor with the probe pointing up. It is
recommended that the Dewpoint Probe be mounted in an
area where it will be exposed only to minimal amounts of
dust.
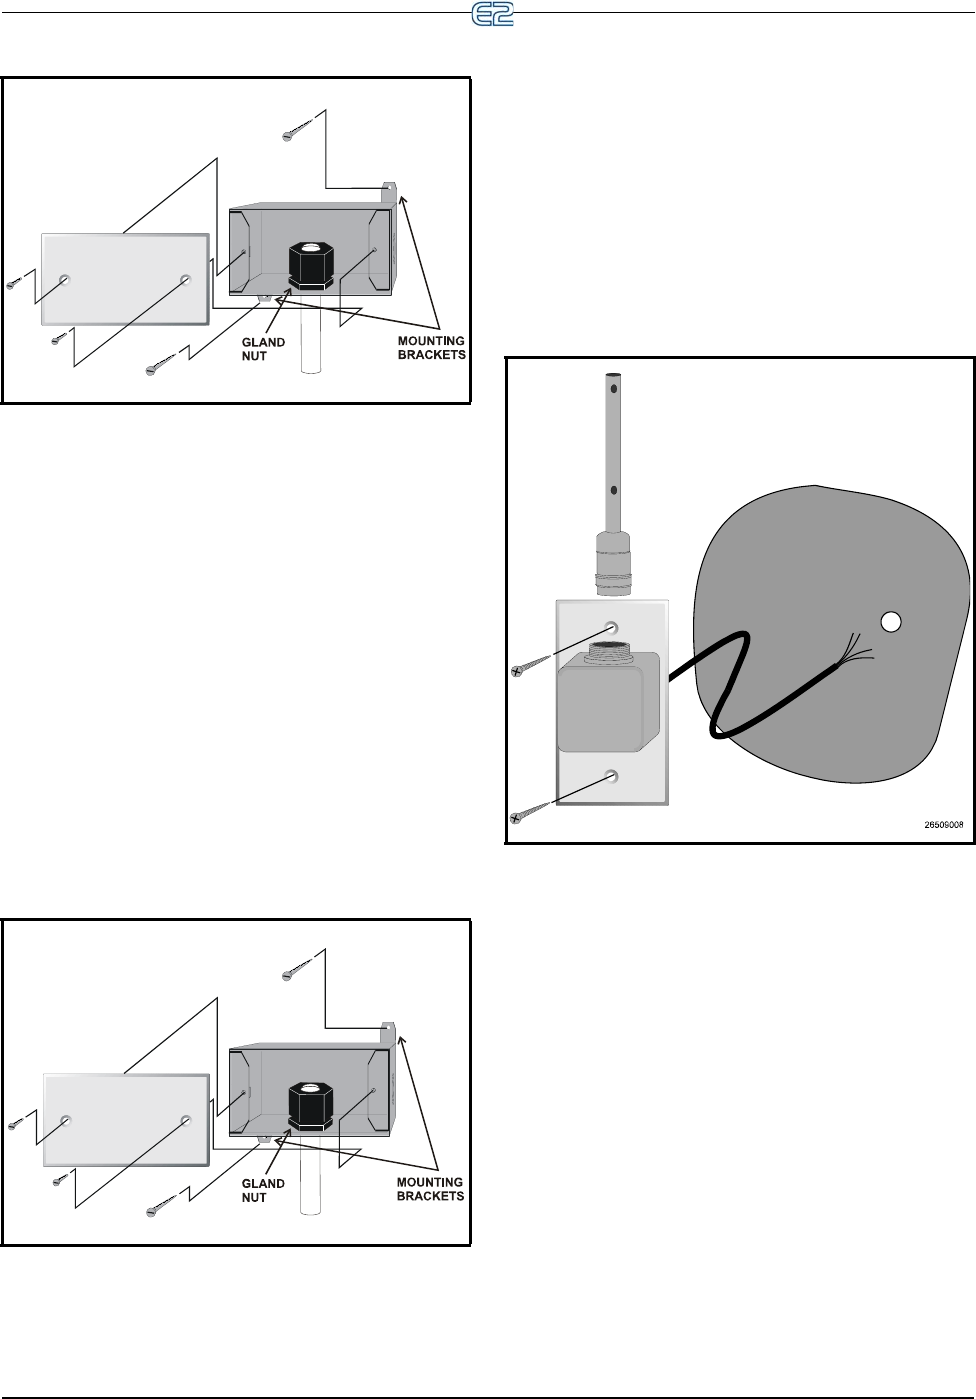
3.5.9.2 Mounting
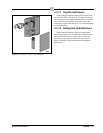
Mount the probe using the standard switch cover sup-
plied with the unit as shown in Figure 3-26.
Figure 3-26 - Dewpoint Probe Mounting
.
3.5.10 Light Level Sensor
3.5.10.1 Location
The Light Level Sensor (P/N 206-0002) should be
located facing away from direct sunlight, preferably facing
north in the Northern Hemisphere or south in the Southern
Hemisphere.
3.5.10.2 Mounting
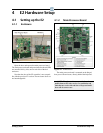
The light level sensor is not supplied with mounting
hardware. The sensor should be mounted horizontally
through the knockout of a standard weather-resistant junc-
tion box. Figure 3-27 shows a typical mounting configu-
ration.


