PC Configuration Server PC Setup – SPC5/10
INDeX Contact Centre Modules Page 37
Installation & Maintenance 38HBK00001SCM - Issue 11 (05/01)
Server PC Setup – SPC5/10
The same procedure is required when configuring INDeX CCM SPC5 and SPC10
Server PCs with the exception of the Disk Administrator (NTFS partition), as
detailed in this section.
1. Install Windows NT Server 4.0 as detailed on page 15
2. Install Windows NT Server Service Pack 6a as detailed on page 17
3 Create NTFS Partition using Disk Administrator as detailed on page 37
3. Install Display Adapter as detailed on page 22
4. Install EtherLink PCI Network Interface Card as detailed on page 23 and the
relevant Network setup as required
5. TCP/IP Networking Setup as detailed on page 25
6. Install ADR OnStream Tape Drive as detailed on page 27 (For SPC–10)
7. Install Advantech PCI Wallboard Comms Card as detailed on page 28
8. Install Microsoft SQL 7.0 as detailed on page 29
9. Install ODBC (Open Database Connectivity) as detailed on page 33
10. Windows NT Server Modifications as detailed on page 34
Create NTFS Partition using Disk Administrator
Disk Administrator is a graphical tool for managing disks. This tool encompasses
and extends the functionality of character-based disk management tools such as
MS-DOS FDISK.
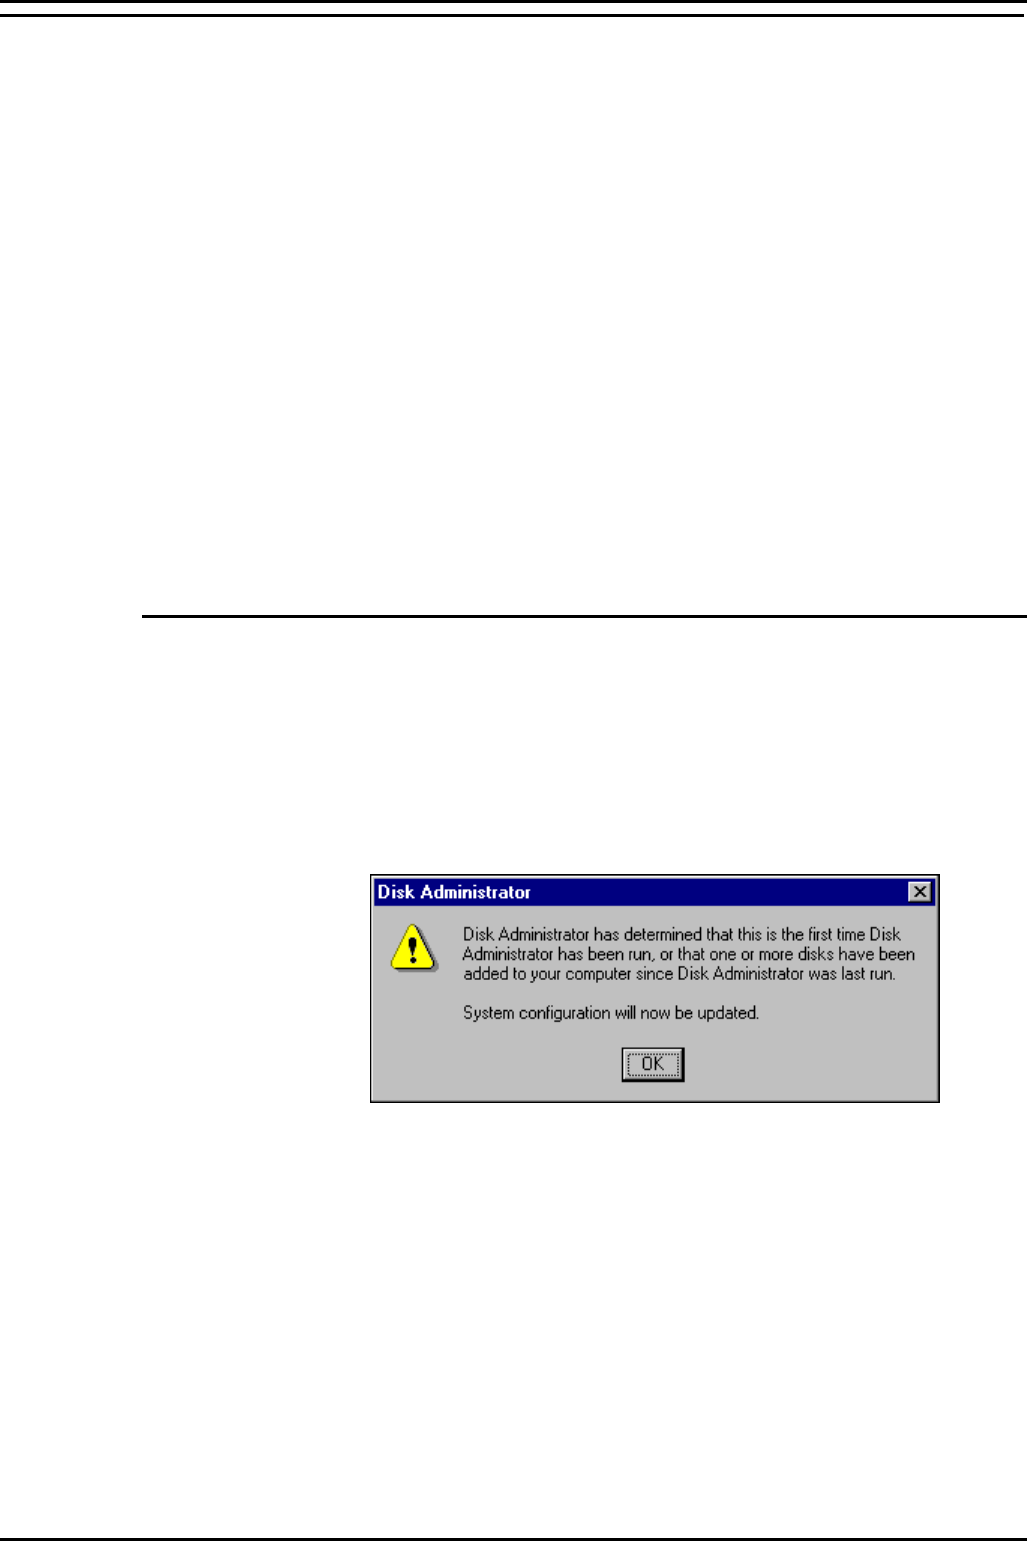
1. From the Windows Taskbar, click Start, point to Programs, point to
Administrative Tools (Common) and click Disk Administrator. When running this
application for the first time, the following screen appears:
A scrollable, graphical representation of all the physical disks connected to your
computer along with their partition appears. A status bar at the bottom of the
window provides basic information on partitions. A colour-coded legend on top
of the status bar shows what the different partition colours and patterns
represent.
2. Click the D drive (i.e. CD-ROM).
3. From the Tools menu, click Assign Drive Letter. Click to select Assign Drive
Letter, and select letter E and then Click OK.
4. From the Confirmation screen, click Yes to continue.


