


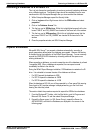
Wallboard Installation and Maintenance INDeX Wallboard 22
INDeX Contact Centre Modules Page 96
Installation & Maintenance 38HBK00001SCM - Issue 11 (05/01)
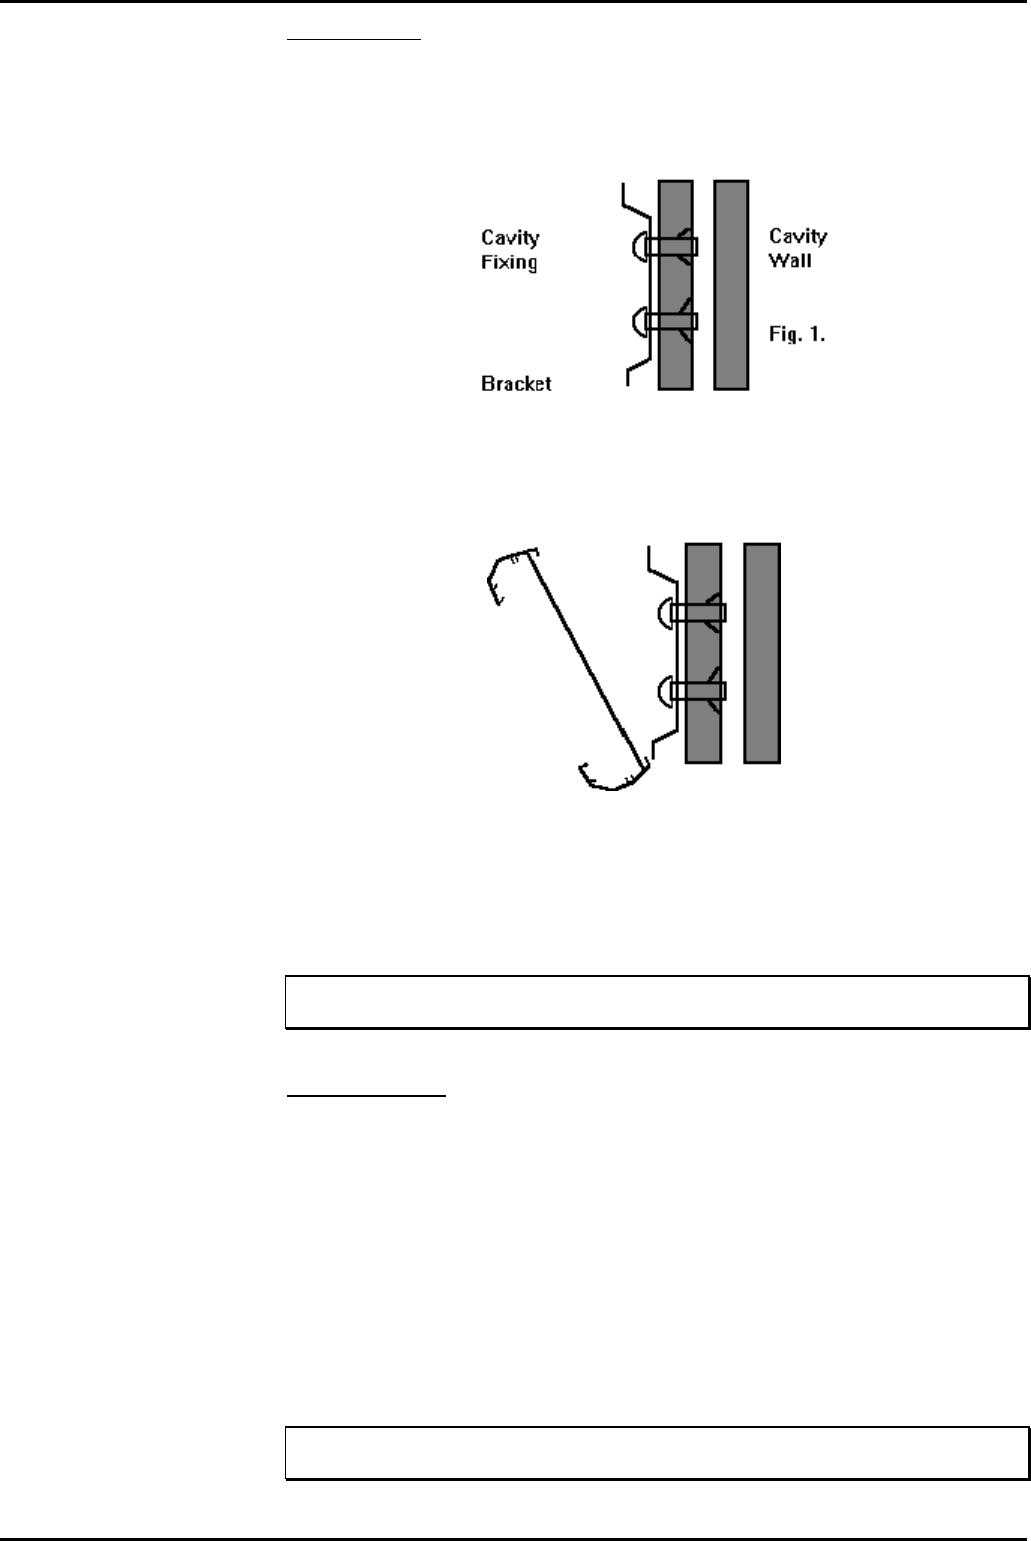
Wall Mounting
Once a location has been decided upon, a pencil may be used through the two
holes in the brackets to mark its location onto the wall. Before drilling holes, a
suitable utility detector should be used. Once done, the holes may be drilled and
the brackets mounted using the relevant fixings provided.
Before mounting the display onto the brackets, the network address should be
assigned. The power lead should also be attached prior to mounting.
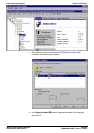
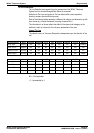
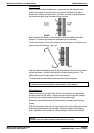
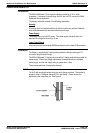
To mount the display, first hook the bottom of the two brackets into the bottom rear
recess channel of the display. See Fig.2.
Fig. 2
Push the wallboard flat against the wall and push upwards to fully locate the bottom
half into the recess. Now allow the display to fall approximately one inch. The
display should now be safely located onto the two brackets.
To remove a wall mounted display then reverse the above paragraph.
Note
The wallboard position can be adjusted by sliding sideways in either direction.
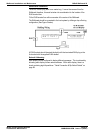
Ceiling Mounting
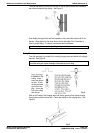
Using the mounting kit provided, firstly, drill the 6-mm holes for the eyehole bolts
and secure them into the ceiling. Pass the spun wire chain through the eyeholes
and through the housing clamps and tighten at the required height.
Remove the right hand end cheek of the wallboard by unscrewing the two fixing
screws.
Slide the two nipples on the end of the spun wire chain into the middle groove of the
display housing and replace the end cheek. Centre the display on the hanging
wires. Adjustments can be made by sliding the display to achieve the final level.
Warning
Ensure the ceiling can support the weight of the wallboard prior to fixing.