


Chapter 4
Getting Started
REF 1057983 A Respironics V200 Ventilator Operator’s Manual 4-13
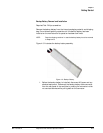
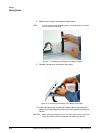
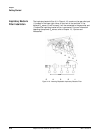
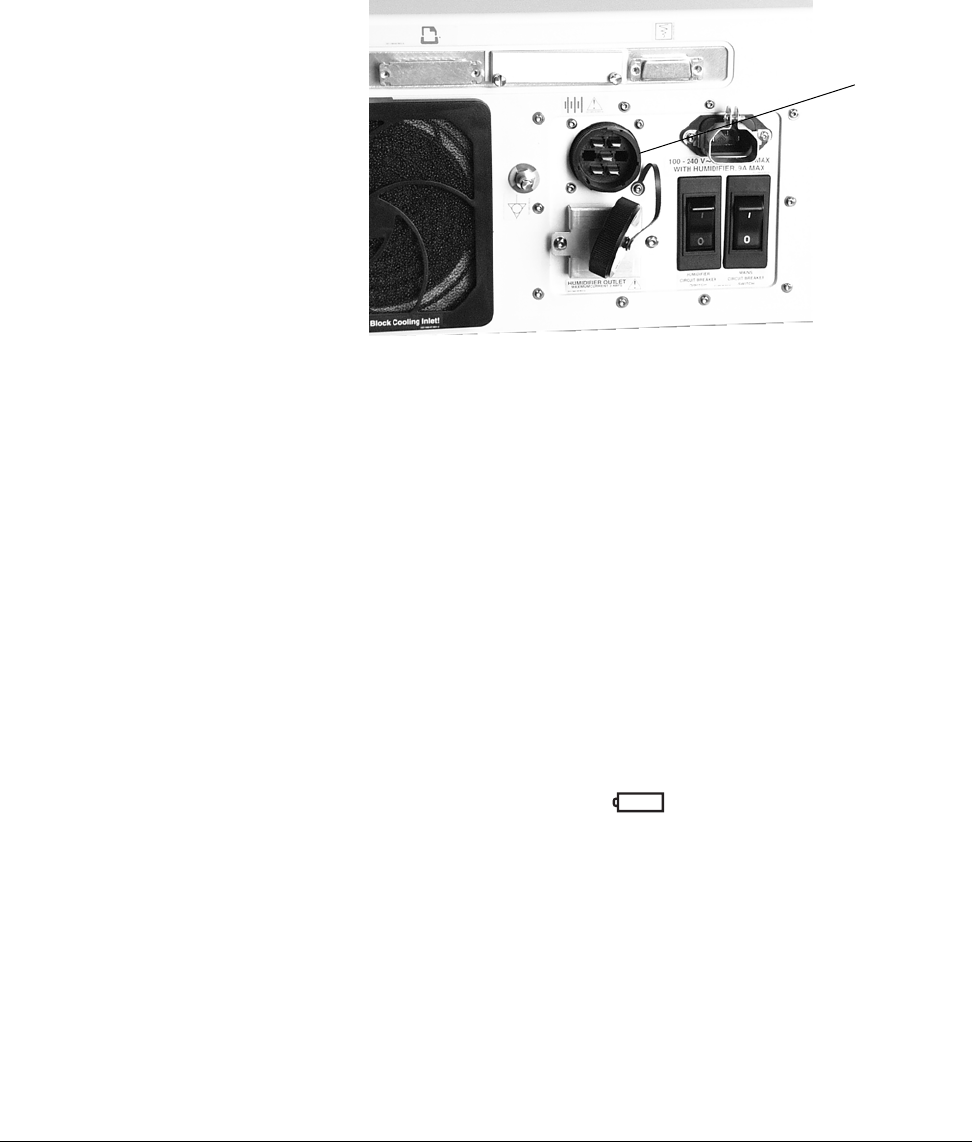
14. Routing the backup battery cable from the tray between the rear of the
ventilator and the rear handle of the cart, connect the cable to the
circular battery connector on the back of the ventilator. Snap the rear
channel cover back into place.
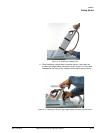
Figure 4-16: Backup Battery Connector
15. Plug the ventilator into an AC outlet.
16. Allow the backup battery to charge as required (see “Battery
Charging” on page 4-15).
17. When charging is complete, attach a patient circuit
and turn the
ventilator on in the diagnostics mode. Select the User Config touch
key and enable the Backup Battery confirmation feature (refer to
Chapter 5, “Backup Battery”).
18. Run SST (refer to Chapter 11, “Diagnostics”).
19. After SST has been successfully completed, exit the diagnostics mode
and power up the ventilator in the normal ventilation mode.
20. While the ventilator is cycling, unplug the AC power from the wall.
21. The ventilator should continue ventilation without interruption of any
kind.
22. The ventilator should have the “In Use” indicator (text version of front
panel) or the battery symbol (symbol version of the front panel)
on and a non-silenceable, non-resettable audible alarm should sound
every 60 seconds. "Backup Battery On" is displayed while the
ventilator consumes power from the backup battery.
23. Plug the AC wall power back in and the ventilator should continue
ventilation without interruption of any kind.
Battery backup
connector