The Graphical Waveform Editor
AWG710&AWG710B Arbitrary Waveform Generator User Manual 3-69
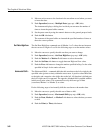
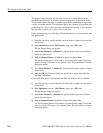
Do the following steps to specify a pattern:
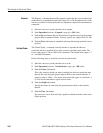
1. Move the cursors to specify the edit area in which to replace the waveform data
with pattern data.
2. Push Operation (bottom)!Set Pattern... (pop–up)!OK (side).
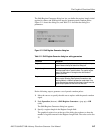
The Set Pattern dialog box appears.
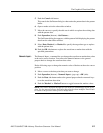
3. Select Data, Marker1, or Marker2 to specify the target data type to replace
with the pattern data.
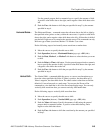
4. Define the pattern using numeric buttons, or push the Import Pattern side
button to import the pattern data.
5. If necessary, you can change the pattern value by moving the cursor with the a
or ' button and then using numeric keys and the key.
6. Push the OK side button to replace the waveform or marker data with the
specified pattern data.
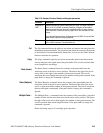
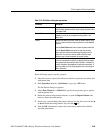
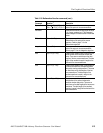
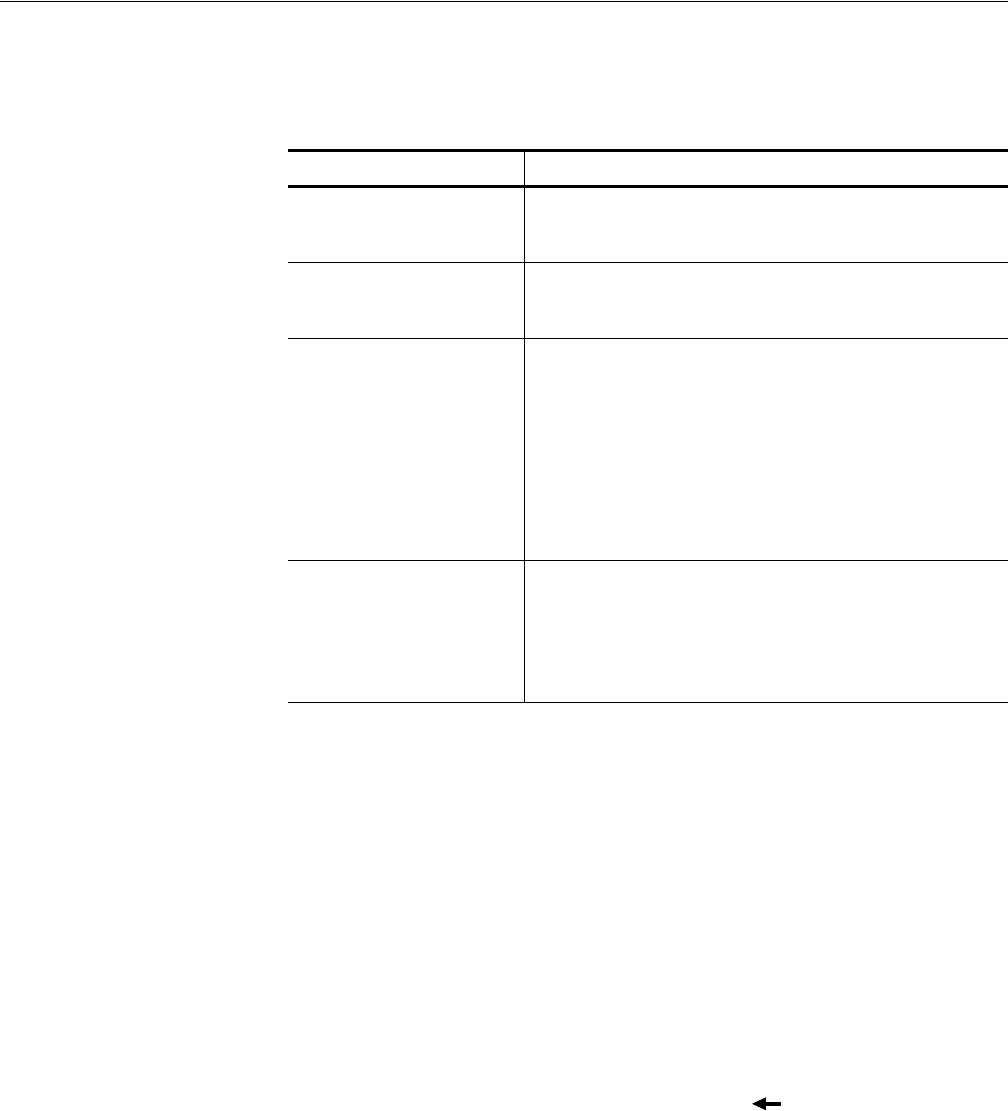
Table 3-12: Set Pattern dialog box parameters
Parameter Description
Total Points Displays the number of data points entered in the Pattern field.
The instrument updates this value as you change the pattern data
in the pattern field.
Cursor Position Displays the cursor position in the pattern field. The instrument
updates this value as you change the cursor position in the
Pattern field.
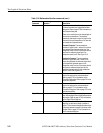
Pattern Specifies the pattern field value. Enter the pattern data by using
the 0 or 1 numeric buttons on the front panel or from an attached
keyboard.
Push the Clear Pattern side button to clear the pattern data field.
Push the Import Pattern side button to insert the edit area
pattern data from the active window target data type into the
pattern field. You can then write the pattern data to a target
waveform type in the active window or another window.
Target Specifies the location where the generated data is created or the
source for imported pattern data. If you specify Data, the pattern
data replaces edit area waveform data; if Marker1 or Marker2 is
selected, the pattern data replaces the edit area marker data. To
import the pattern from the Target specified here, use the Import
Pattern side menu.


