


The UTILITY Window
AWG710&AWG710B Arbitrary Waveform Generator User Manual 3-171
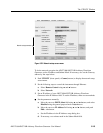
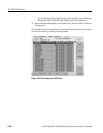
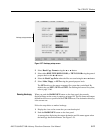
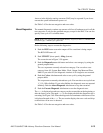
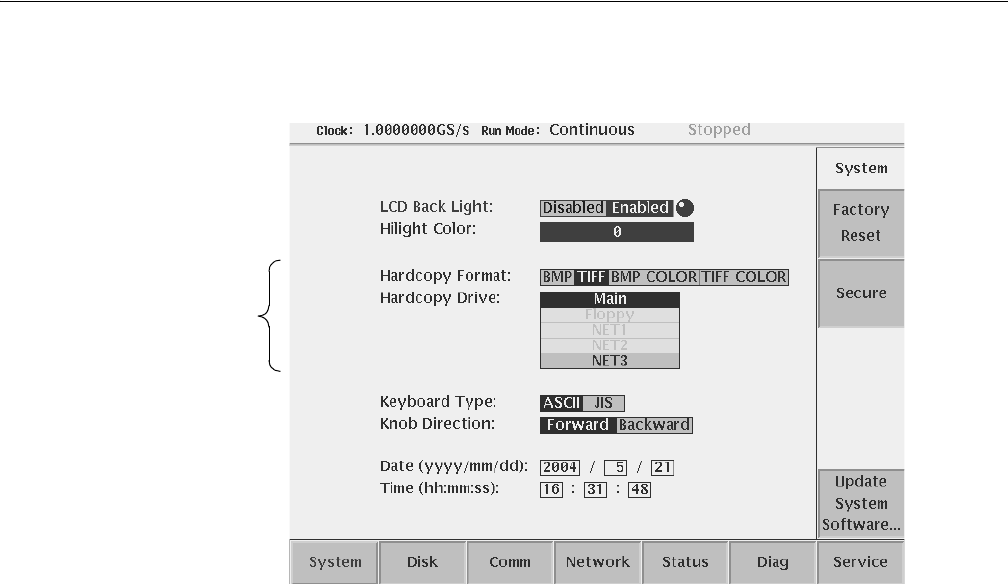
Figure 3-57: Hardcopy setup screen
2. Select Hard Copy Format using the y or b button.
3. Select either BMP, TIFF, BMP COLOR, or TIFF COLOR using the general
purpose knob or the a or ' button.
4. Select the Hard Copy Drive where the files are stored using the y or b button.
5. Select Main, Floppy, or NETx using the general purpose knob.
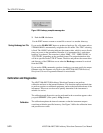
The NETx refers to the remote computer file system that you defined. By
default, they are NET1, NET2 and NET3. For defining the remote file system,
refer to page 3-166.
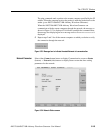
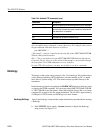
Running Hardcopy
When you push the HARDCOPY button on the front panel, the currently
displayed image on the screen is output to an image file. The file format and output
destination drive are as specified in the UTILITY menu. The destination directory
is the current one.
Follow the steps below to make a hardcopy.
1. Display the view on the screen that you want hardcopied.
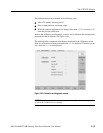
2. Push the HARDCOPY button on the front panel.
A message box displaying the output destination and file name appear when
the hardcopy function terminates. See Figure 3-58.
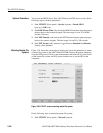
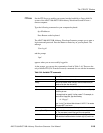
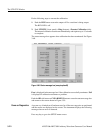
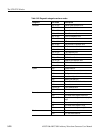
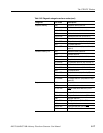
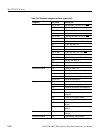
Hardcopy setup parameters