99Control of VTRs and Disk Recorders
Chapter 12 External Devices
The [RCALL] button in the numeric keypad control block lights.
2
With the region selection buttons in the numeric keypad control block,
select the region.
You can also select more than one button.
3
Enter the number of the register to be recalled with the numeric keypad
buttons.
4
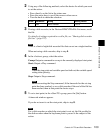
Press the [REWIND] button in the keyframe control block.
The VTR/disk recorder automatically advances to the timecode value set
as the start point.
While the VTR/disk recorder is operating, the [ALL STOP] button in the
device control block flashes amber, and when the start point is reached
lights green.
If the operating VTR/disk recorder is selected as the reference region in the
device control block, the [CUE] button also flashes and lights in the same
way as the [ALL STOP] button. Also, when the start point is reached, the
[STOP] button lights amber.
5
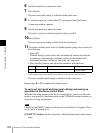
Press the [RUN] button in the keyframe control block.
The VTR/disk recorder is now controlled according to the keyframe data.
Setting the start point, stop point, and start delay time in a menu
In the Device menu, you can set the start point, stop point, and start delay time.
To make the setting, use the following procedure.
1
In the Device menu, press VF3 ‘VTR’ and HF1 ‘Cueup & Play.’
The Device>DDR/VTR>Cueup & Play menu appears.
The status area shows the device name, register number, status
information, current time, start point, stop point, and start delay time.
2
Using any of the following methods, select the device.
• Press directly on the list in the status area.
• Press the arrow keys to scroll the reverse video cursor.
• Turn the knob to make the setting.
3
Carry out any of the following operations as required.
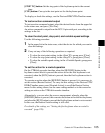
• To set the start point, press [SET] in the <Start TC> group.
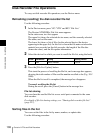
Knob Parameter Adjustment Setting values
1 Dev Device number 1 to 12


