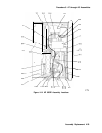
A10 YIG-Tuned Filter/Mixer
(RYTHM)
Removal
Caution
Do NOT remove the brackets from the A10 assembly. If these brackets are
removed and reinstalled, the performance of A10 will be altered. A new or
rebuilt A10 assembly includes new mounting brackets already attached to it.
1.
2.
3.
4.
Disconnect W16 ribbon cable from the A10 assembly.
Use a
5/16-inch
wrench to remove W43, W44, and W46 from AlOJ3, J2, and J4,
respectively.
Remove
W56/FL2/W57
(
as a unit) and disconnect W48 from
AlOJl.
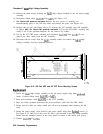
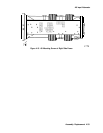
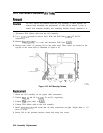
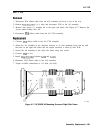
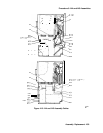
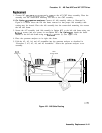
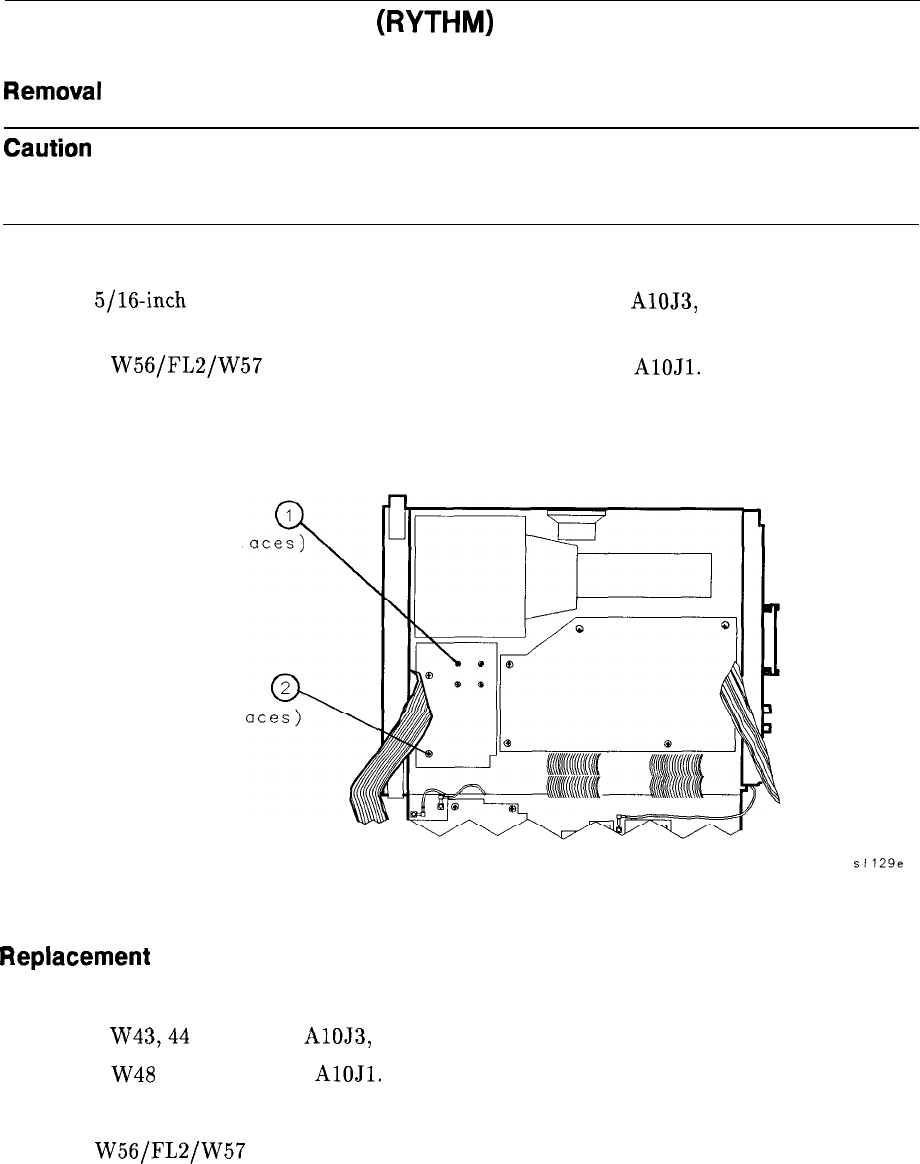
Remove four screws (1) securing A10 to the center deck. These screws are located on the
top-side of the center deck as illustrated in Figure 4-16.
(4 PI
(3 PI
Figure 4-16. A10 Mounting Screws
Replacement
1. Orient the A10 assembly for the proper cable connections.
2. Connect
W43,44
and 46 to
AlOJ3,
J2, and J4, respectively.
3. Connect W48 (gray cable) to
AlOJl.
4. Connect W16 ribbon cable to the A10 assembly.
5. Install
W56/FL2/W57
and ensure that all cable connections are tight. Torque them to 1
Ncm (10 in-lb).
6. Secure A10 to the spectrum analyzer center deck using four screws.
13
4-34 Assembly Replacement


