


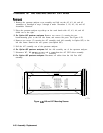

All YTO
All YTO
Removal
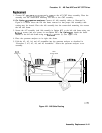
1. Disconnect W16 ribbon cable from the A10 assembly and move it out of the way.
2. Remove
W56/FL2/W57
(as a unit) and disconnect W38 at the All assembly.
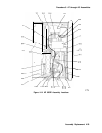
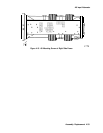
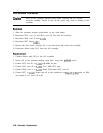
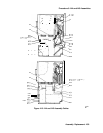
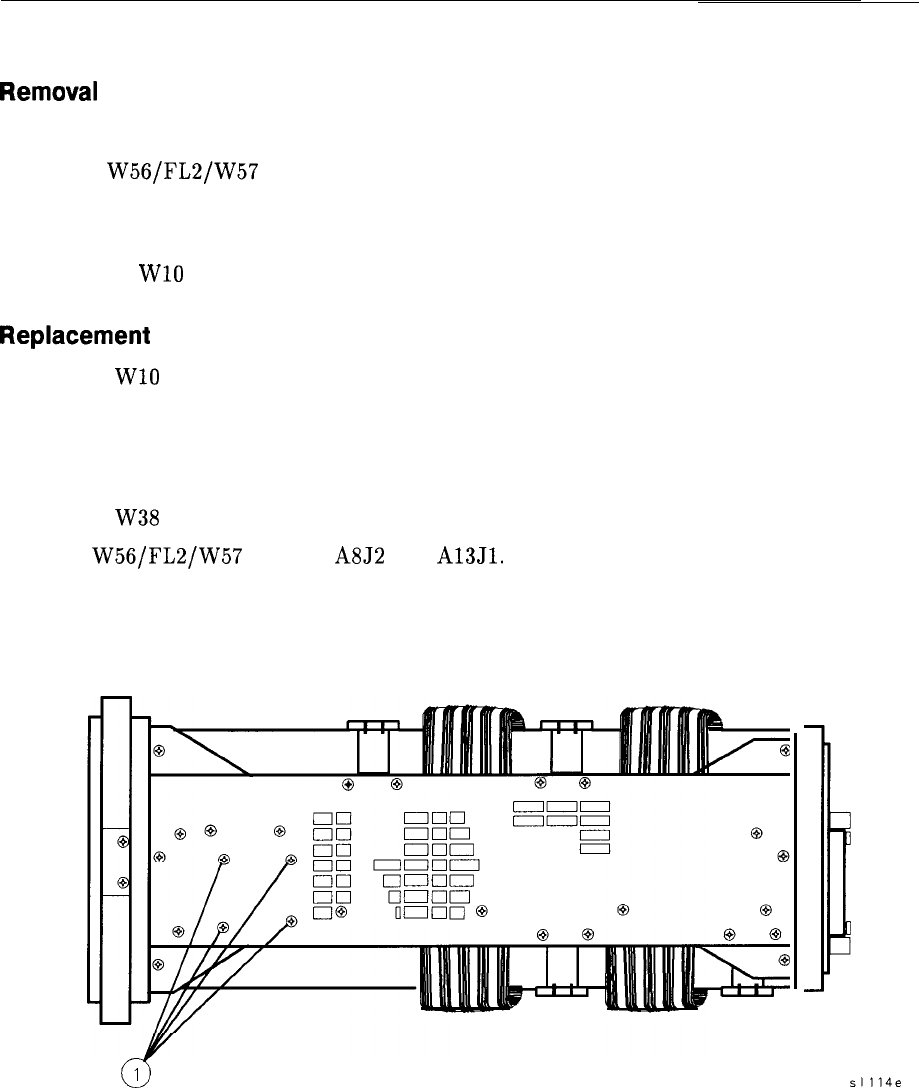
3. Remove four screws (1) securing All to the right side frame. See Figure 4-17. Remove the
screws while holding onto All.
4. Disconnect WlO ribbon cable from the All YTO assembly.
Replacement
1. Connect WlO ribbon cable to the All YTO assembly.
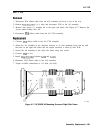
2. Orient the All assembly in the spectrum analyzer so its four mounting holes line up with
the holes in the right side frame and the output connector is lined up with W38.
3. Secure the All assembly to the right side frame using four screws.
4. Connect W38 to All.
5. Install
W56/FL2/W57
between A8J2 and
A13Jl.
6. Reconnect W16 ribbon cable to the A10 assembly.
7. Torque all SMA connections to 113 Ncm (10 in-lb).
c
1
Figure 4-17. HP 8562E All Mounting Screws at Right Side Frame
i
sl114e
Assembly Replacement 4-35