Procedure 13. Rear Frame/Rear Dress Panel
15. Remove the two
flathead
screws securing the rear panel battery assembly, and remove
the assembly. Remove the battery and unsolder the two wires attached to the battery
assembly.
16. Use a
9/16-inch
nut driver to remove the dress nuts holding the BNC connectors to the
rear frame. If necessary, drill out the nut driver to fit over the BNC connectors, and cover
it with heatshrink tubing or tape to avoid scratching the dress panel.
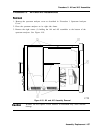
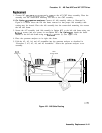
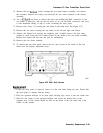
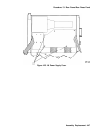
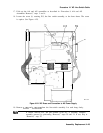
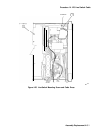
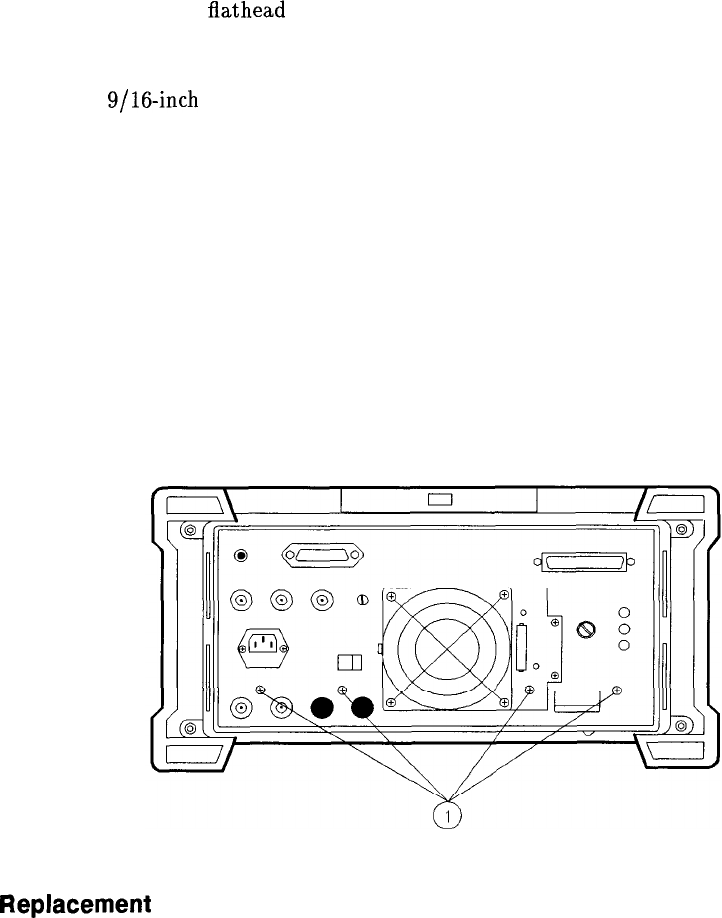
17. Remove four screws (1) securing the rear frame to the main deck. See Figure 4-22.
18. Remove the six screws securing the rear frame to the left and right side frames.
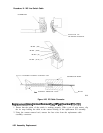
19. Remove the knurled nut securing the earphone jack. Carefully remove the jack using
caution to avoid losing the lock washer located on the inside of the rear frame assembly.
Replace the washer and nut onto the jack for safekeeping.
20. Remove the rear frame assembly.
21. To remove the rear dress panel, remove the two nuts located on the inside of the rear
frame near the display adjustment holes.
SK147
Figure 4-22. Main Deck Screws
Replacement
1. If the rear dress panel is removed, secure it to the rear frame using two nuts. Ensure that
the dress panel is aligned with the frame.
2. Place the spectrum analyzer on its front panel allowing easy access to the rear frame area.
3. Place the rear frame on the spectrum analyzer and secure the knurled nut on the
earphone jack. A lock washer should be used on the inside of the rear frame and a flat
washer on the outside.
Assembly Replacement 4-45


